DZ60 Keyboard Build
It’s not as convenient as buying an assembled mechanical keyboard and certainly not cheaper. What I did get was the ability to custom program the function layers, choose the parts I wanted, and the ability to say “I made that.”
Useful Resources
Build Process
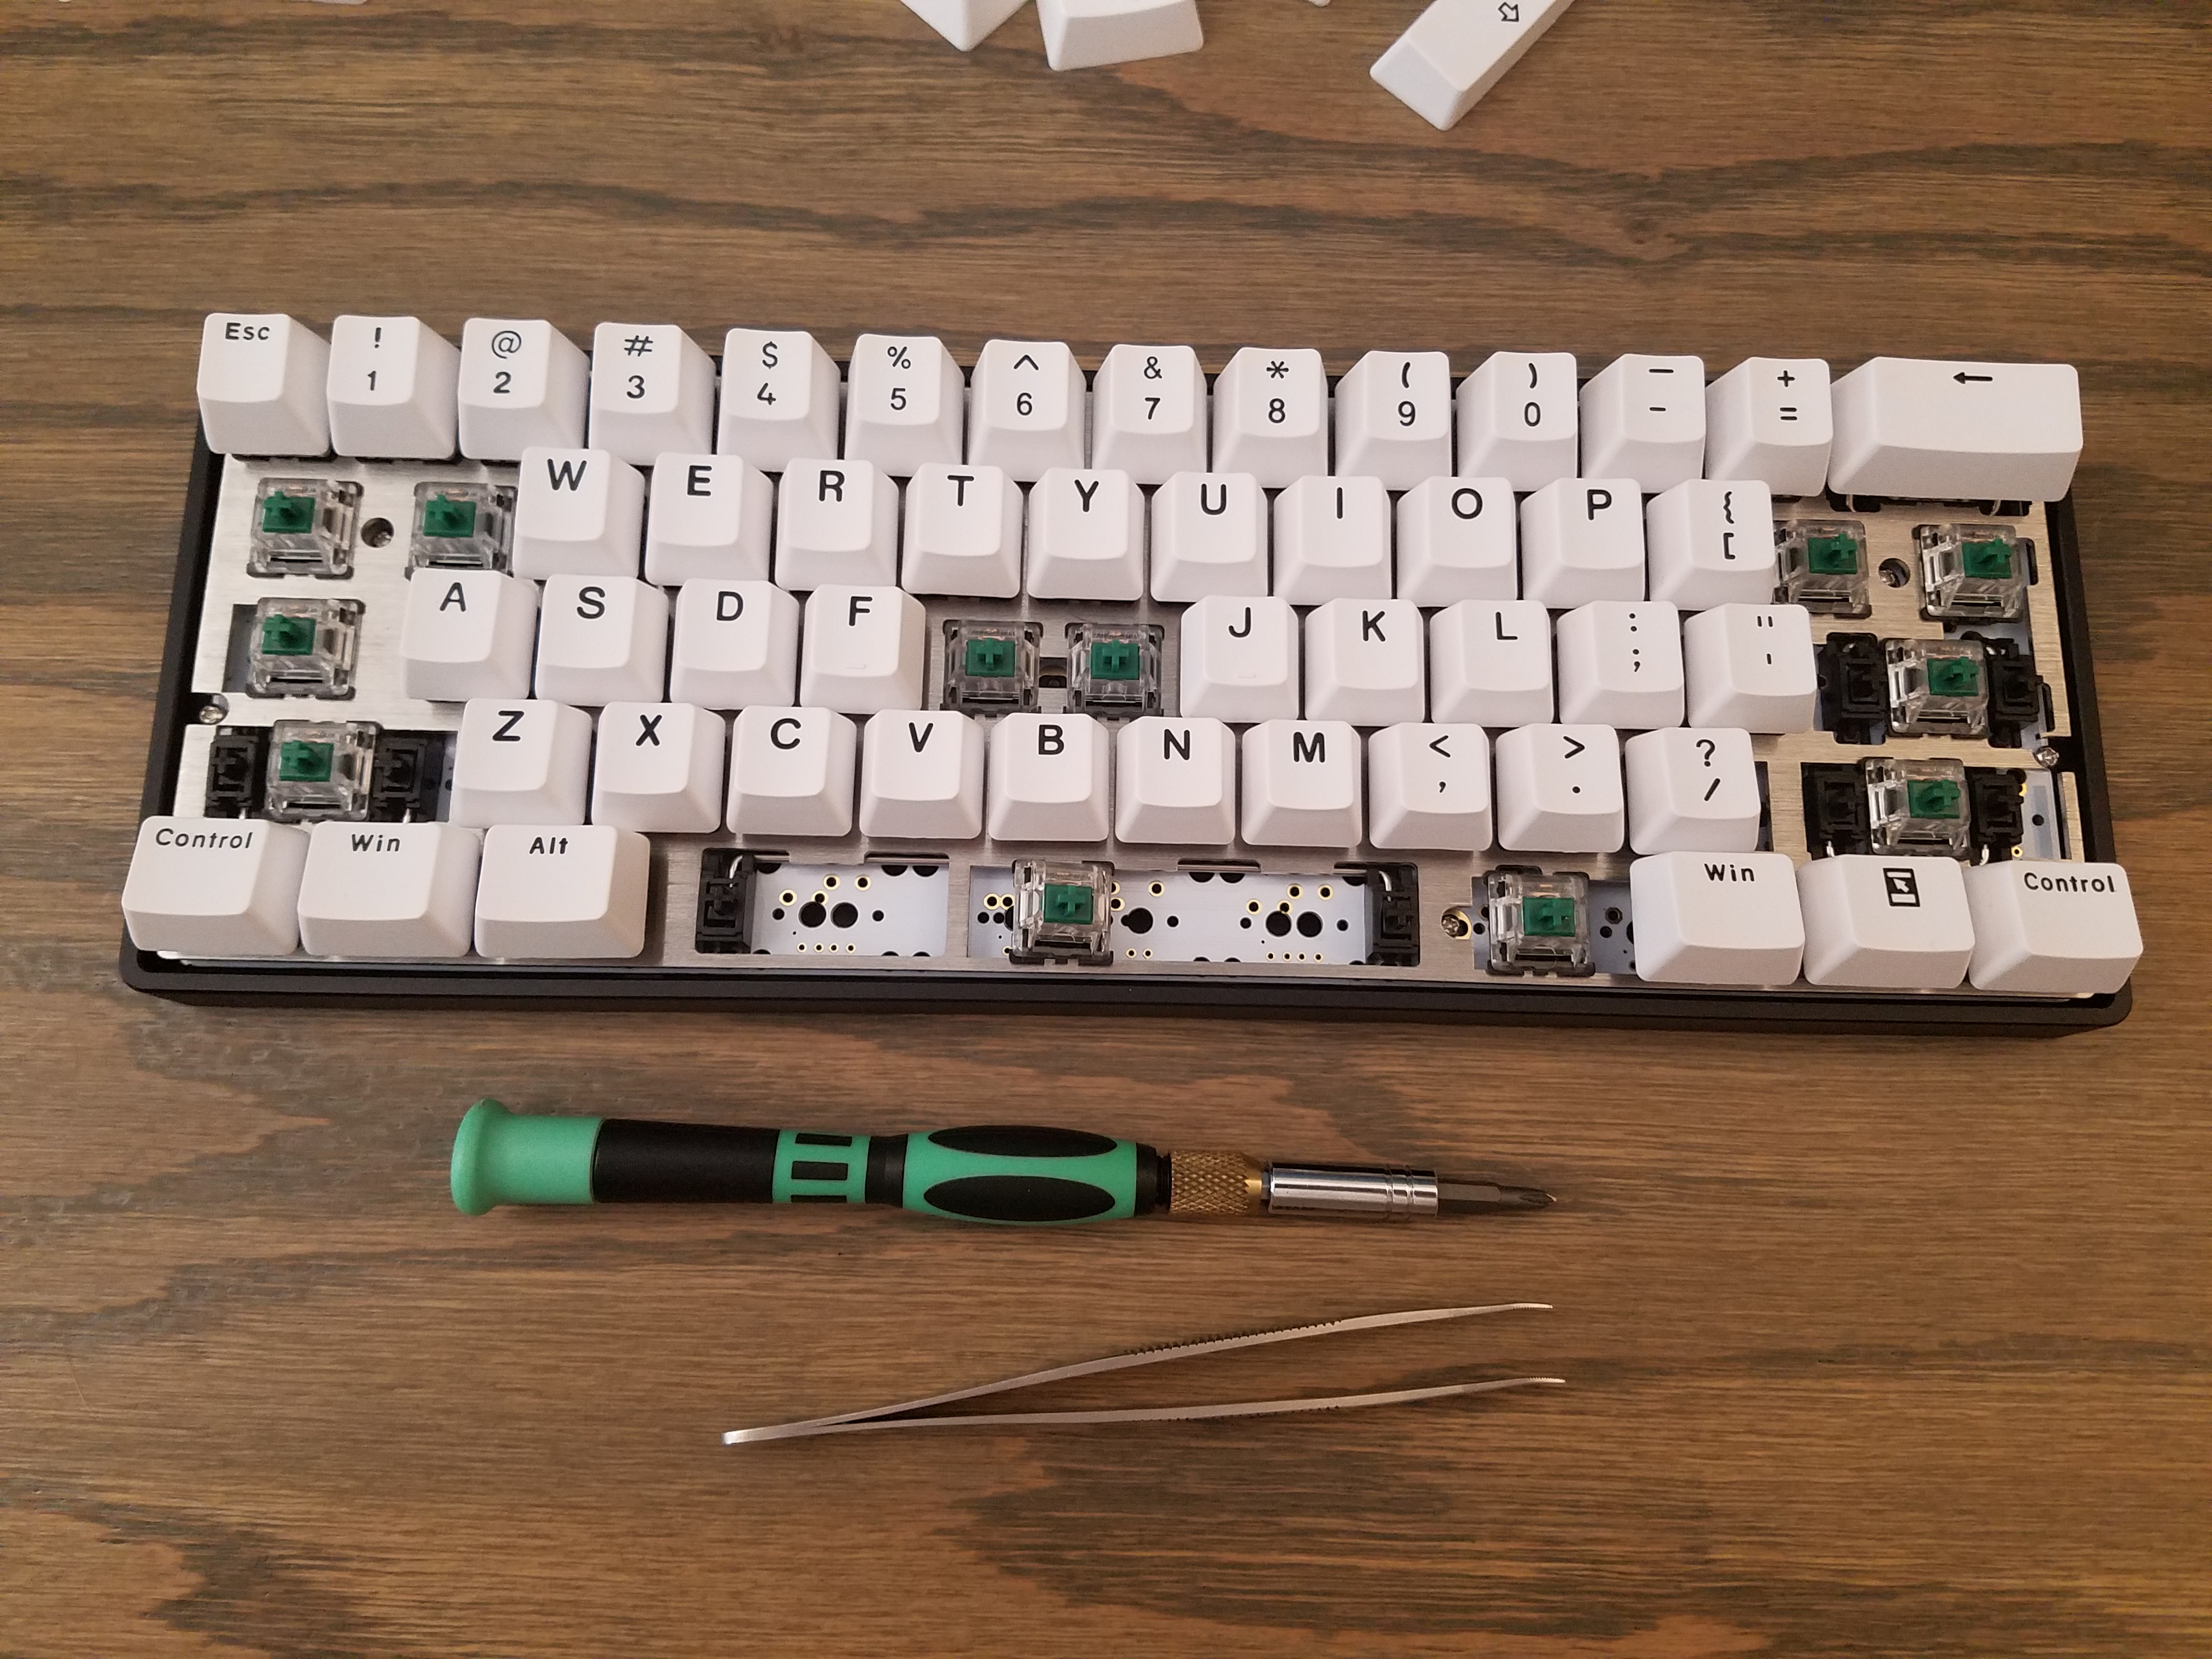
Parts
DZ60 PCB, Gateron Green Switches, Stainless Steel Plate, Stabilizers
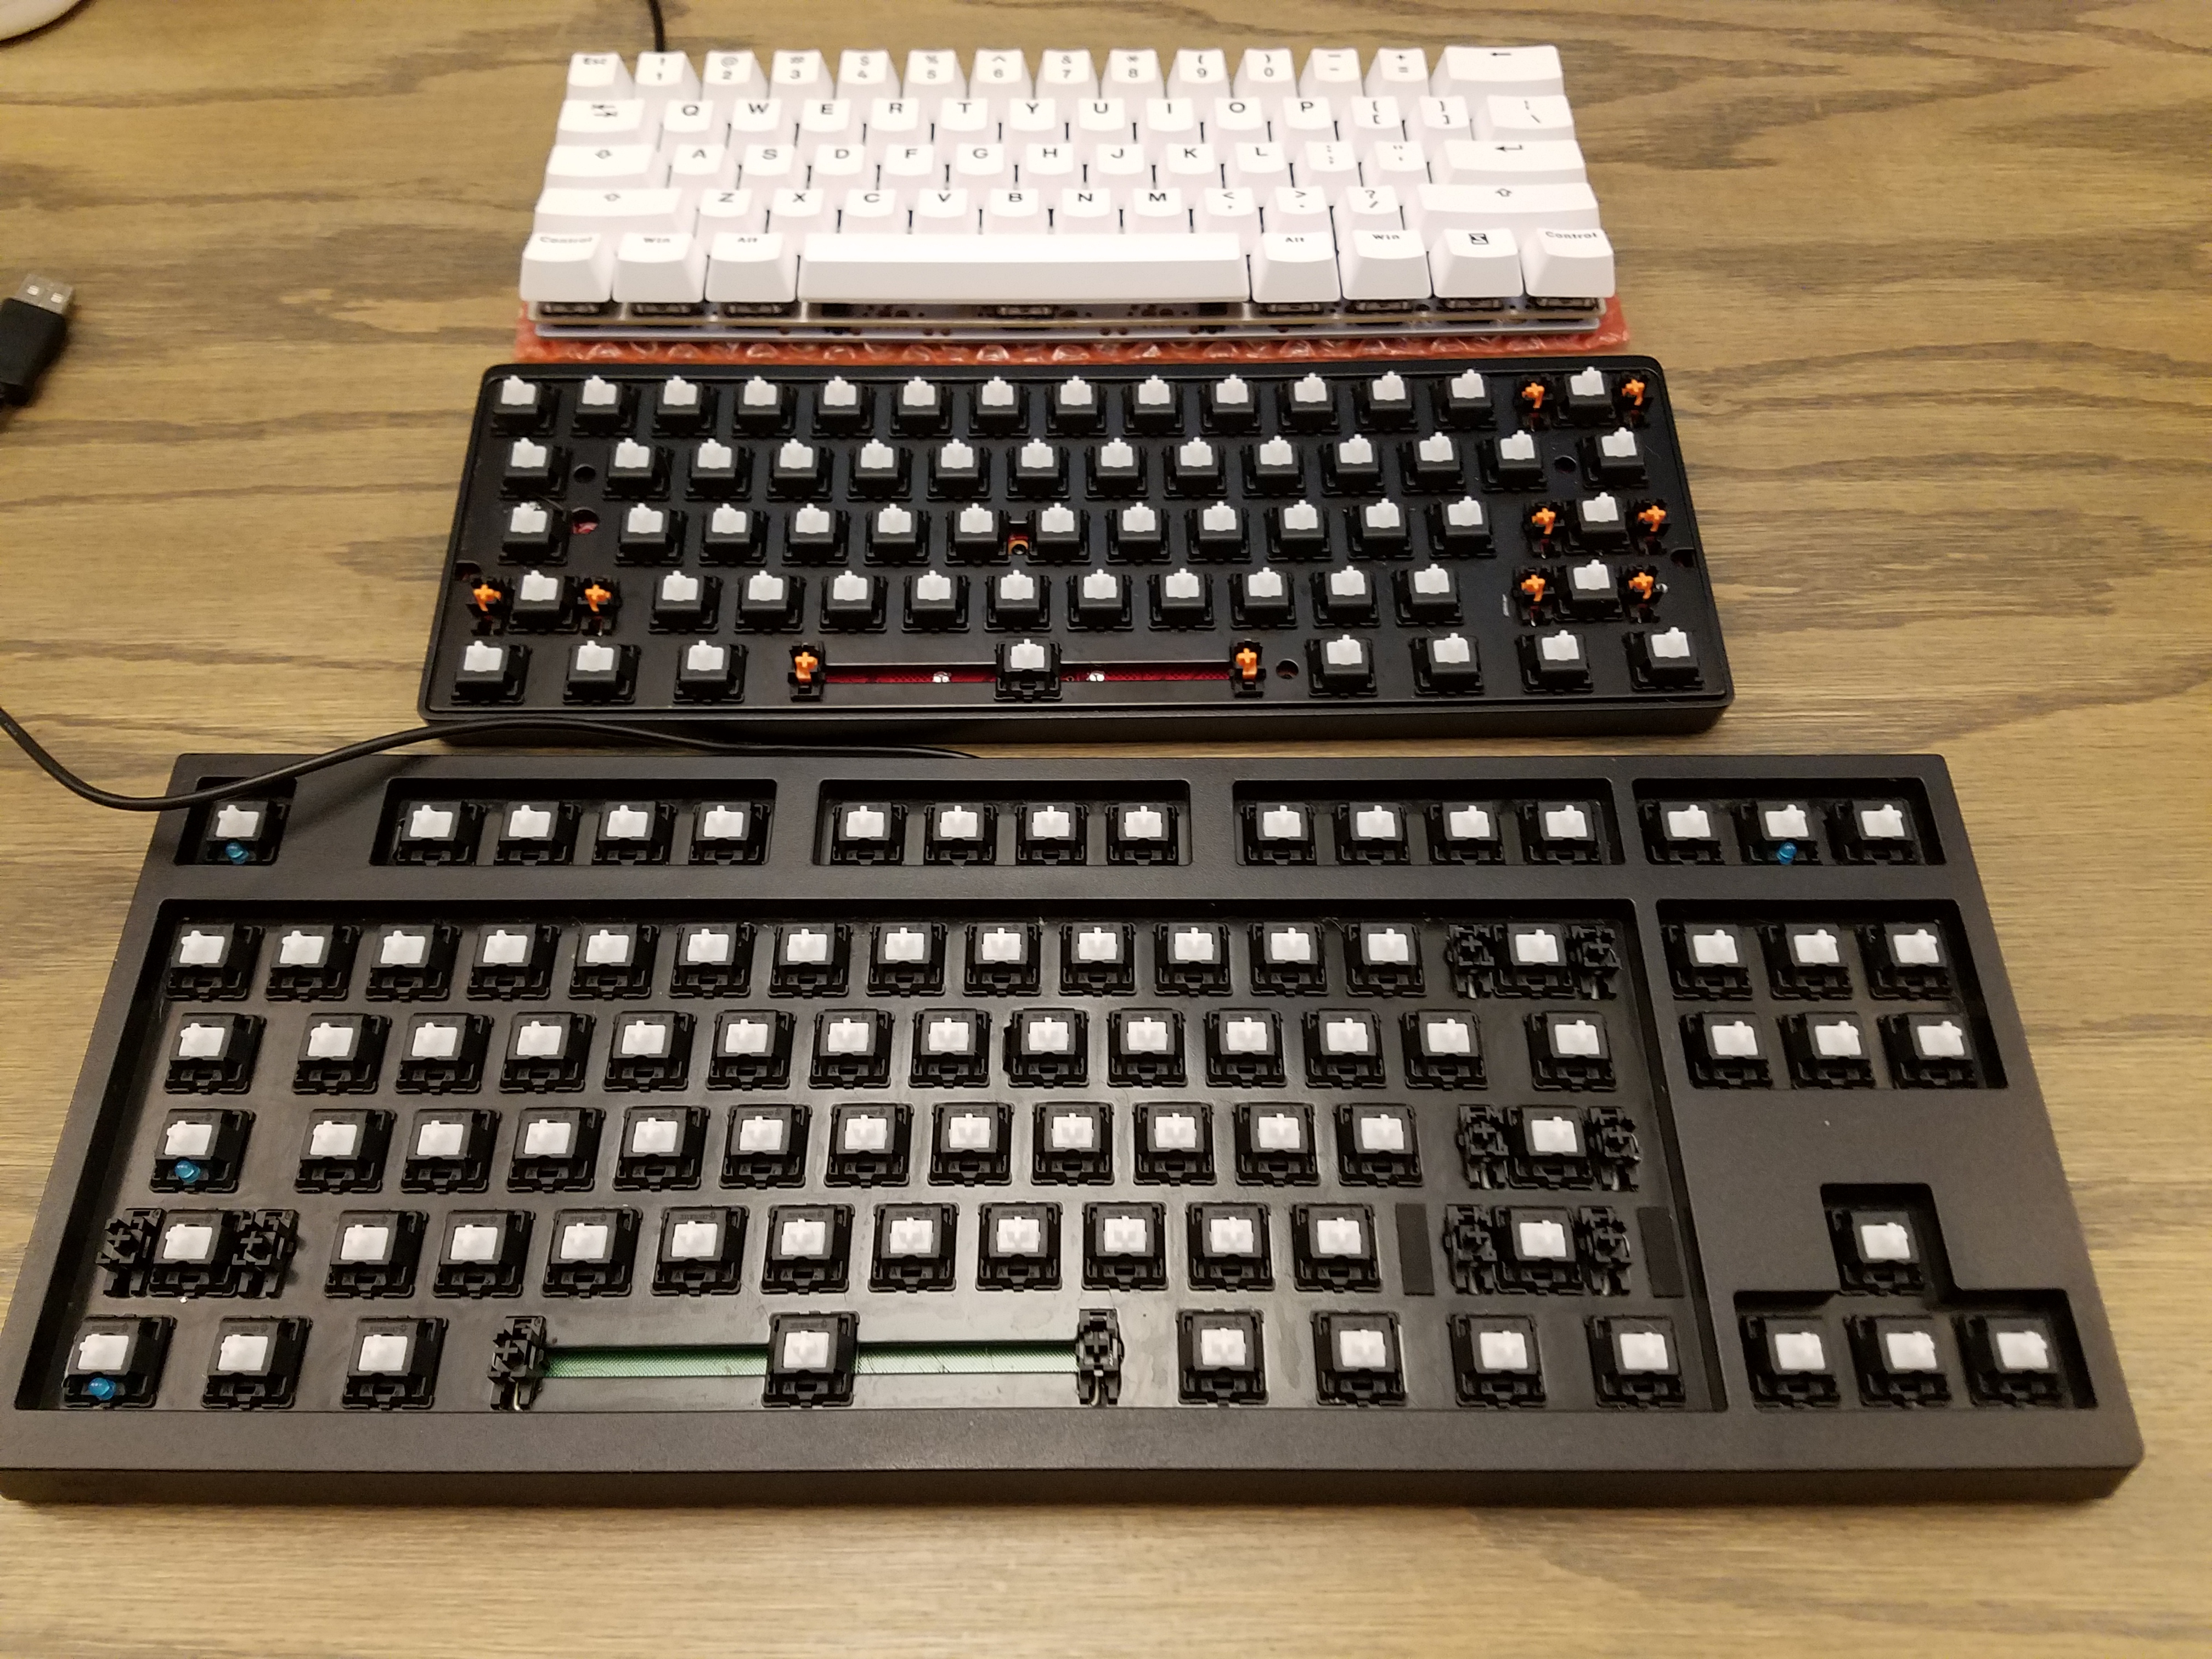
I use my Vortex Pok3r daily at work and the 60% has quickly become my favorite keyboard profile. By using the DZ60 I was also able to select a USB-C connector.
For this build I chose to use Gateron Green switches to test out clicky switches. My other boards use Cherry MX-Clear switches, which are my current favorites, but these feel pretty good so far. I also used the plate and stabilizers that came in the kit rather than ordering custom or original Cherry parts. The stabilizers aren’t noticeably different than the ones on my other boards and I expect them to smooth out over time as they break in. One option I may consider in the future is to sand and paint the plate prior to installing the switches.
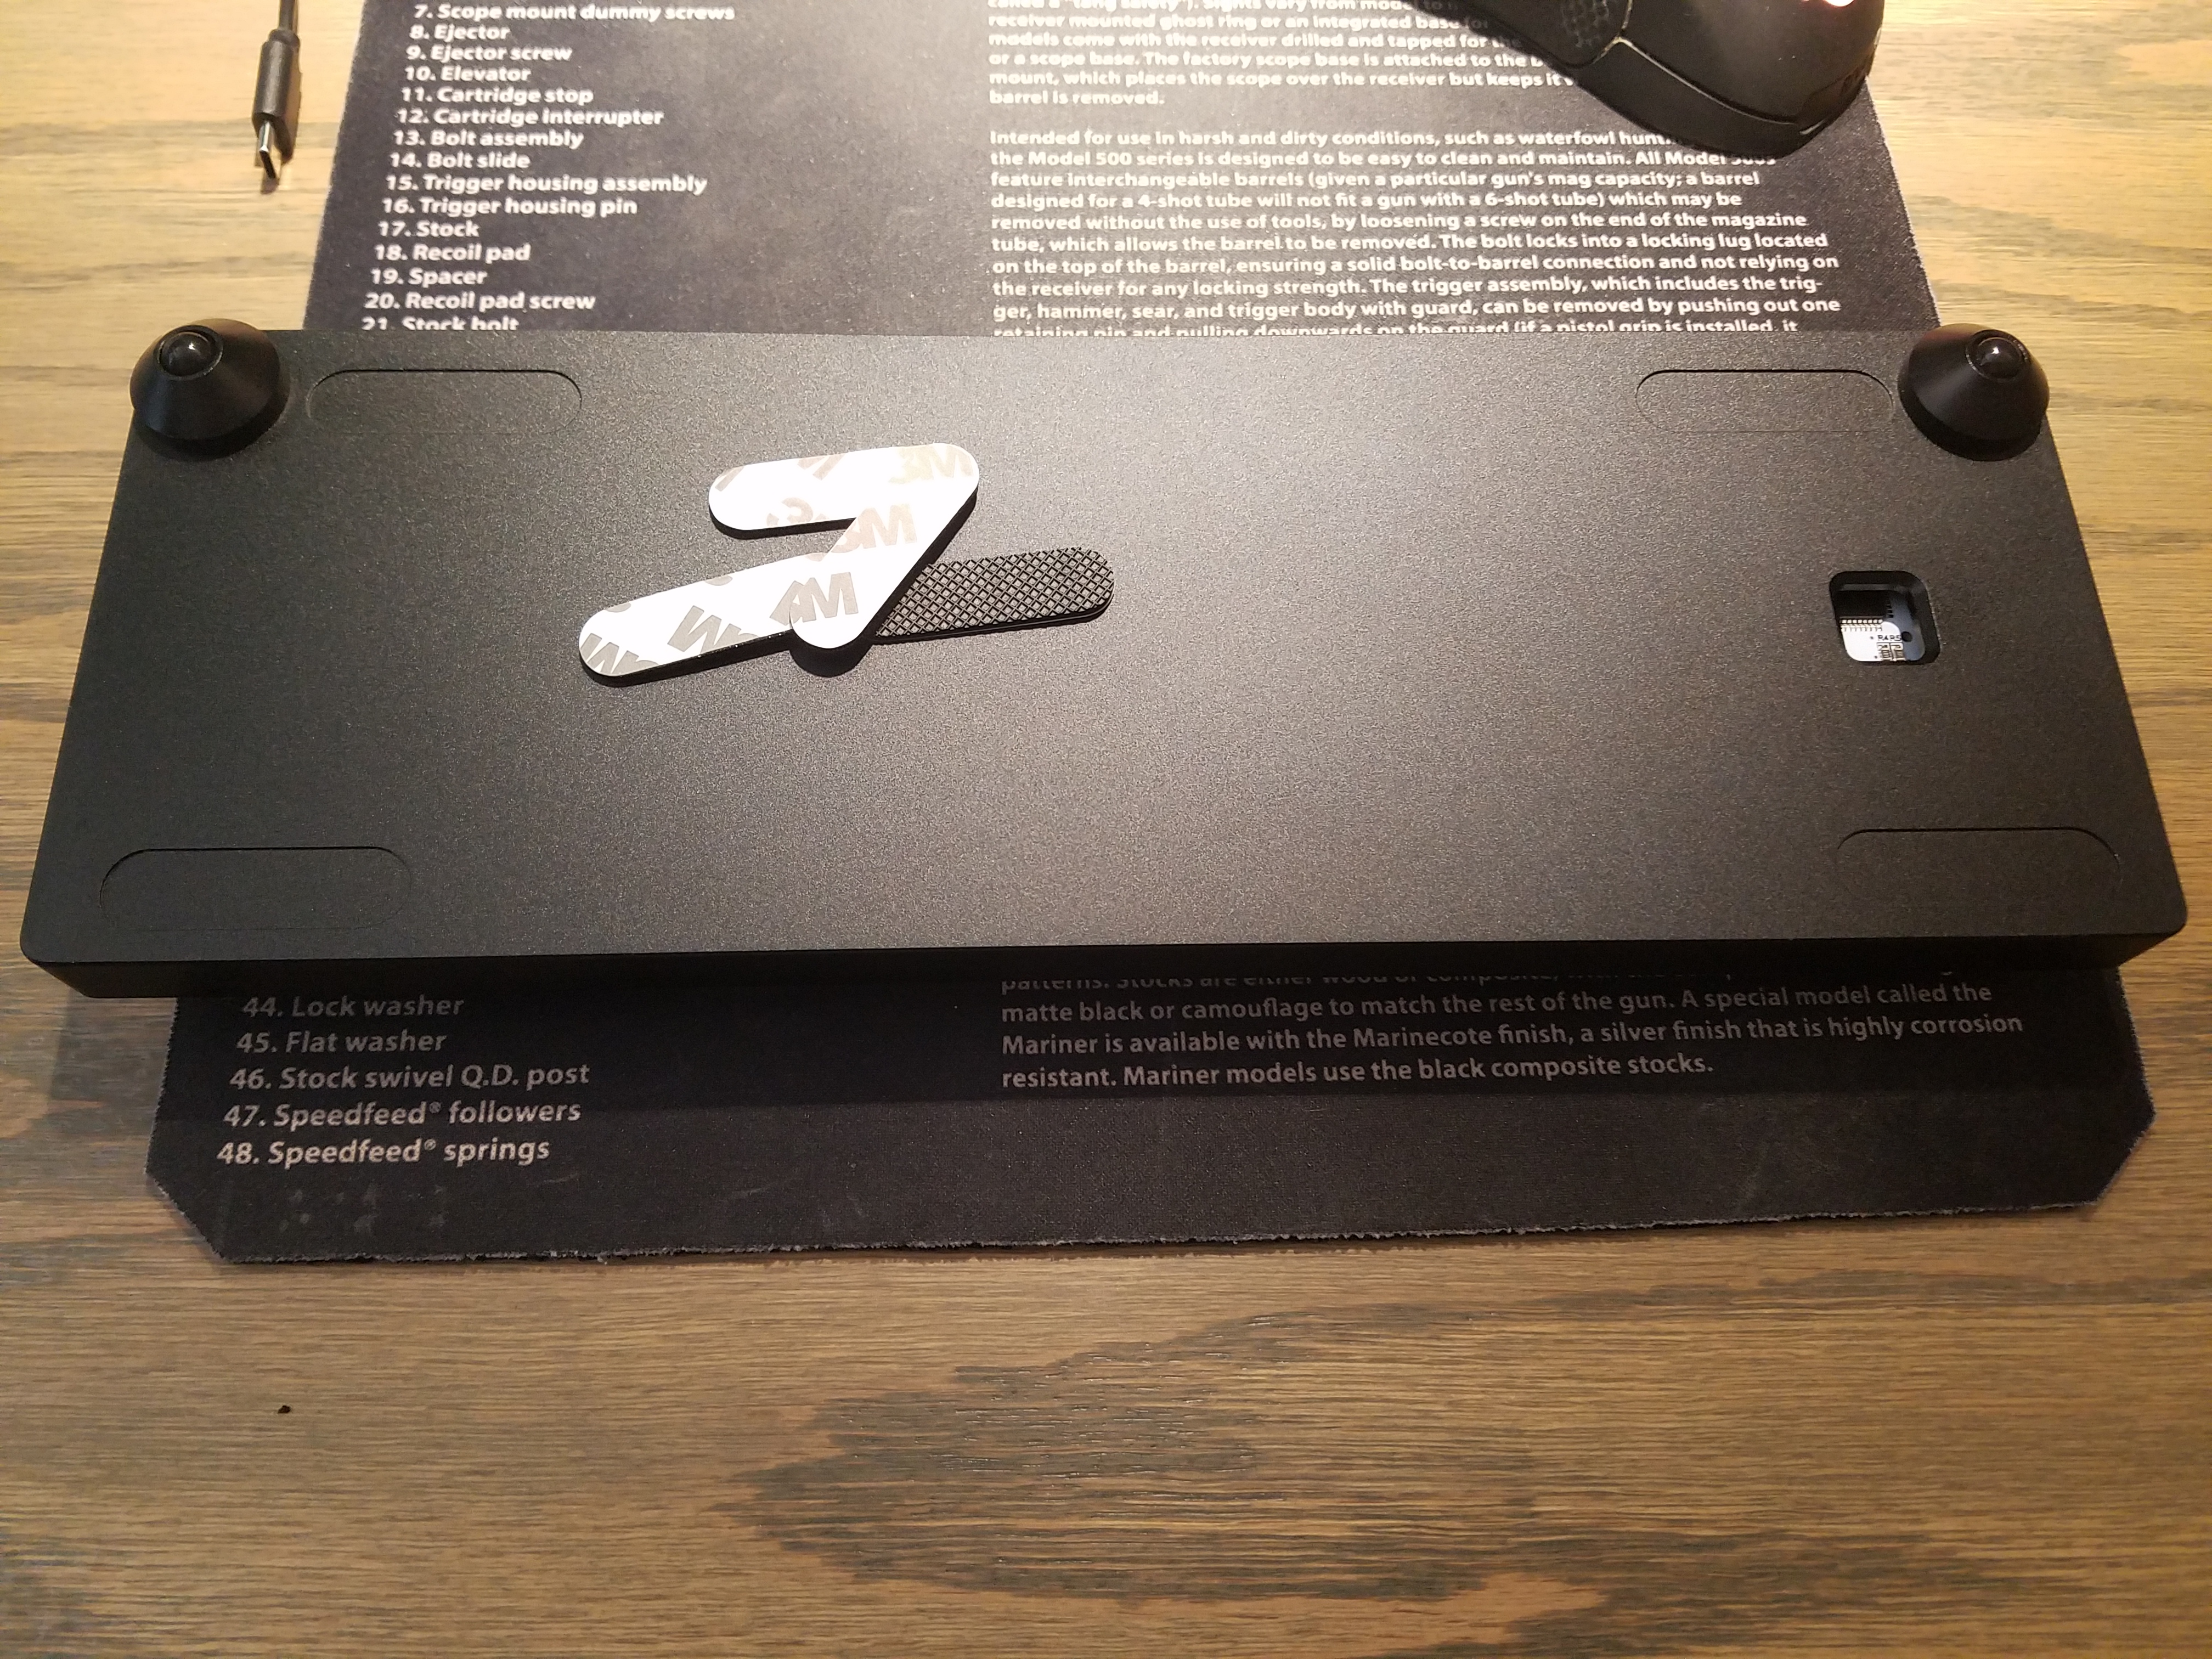
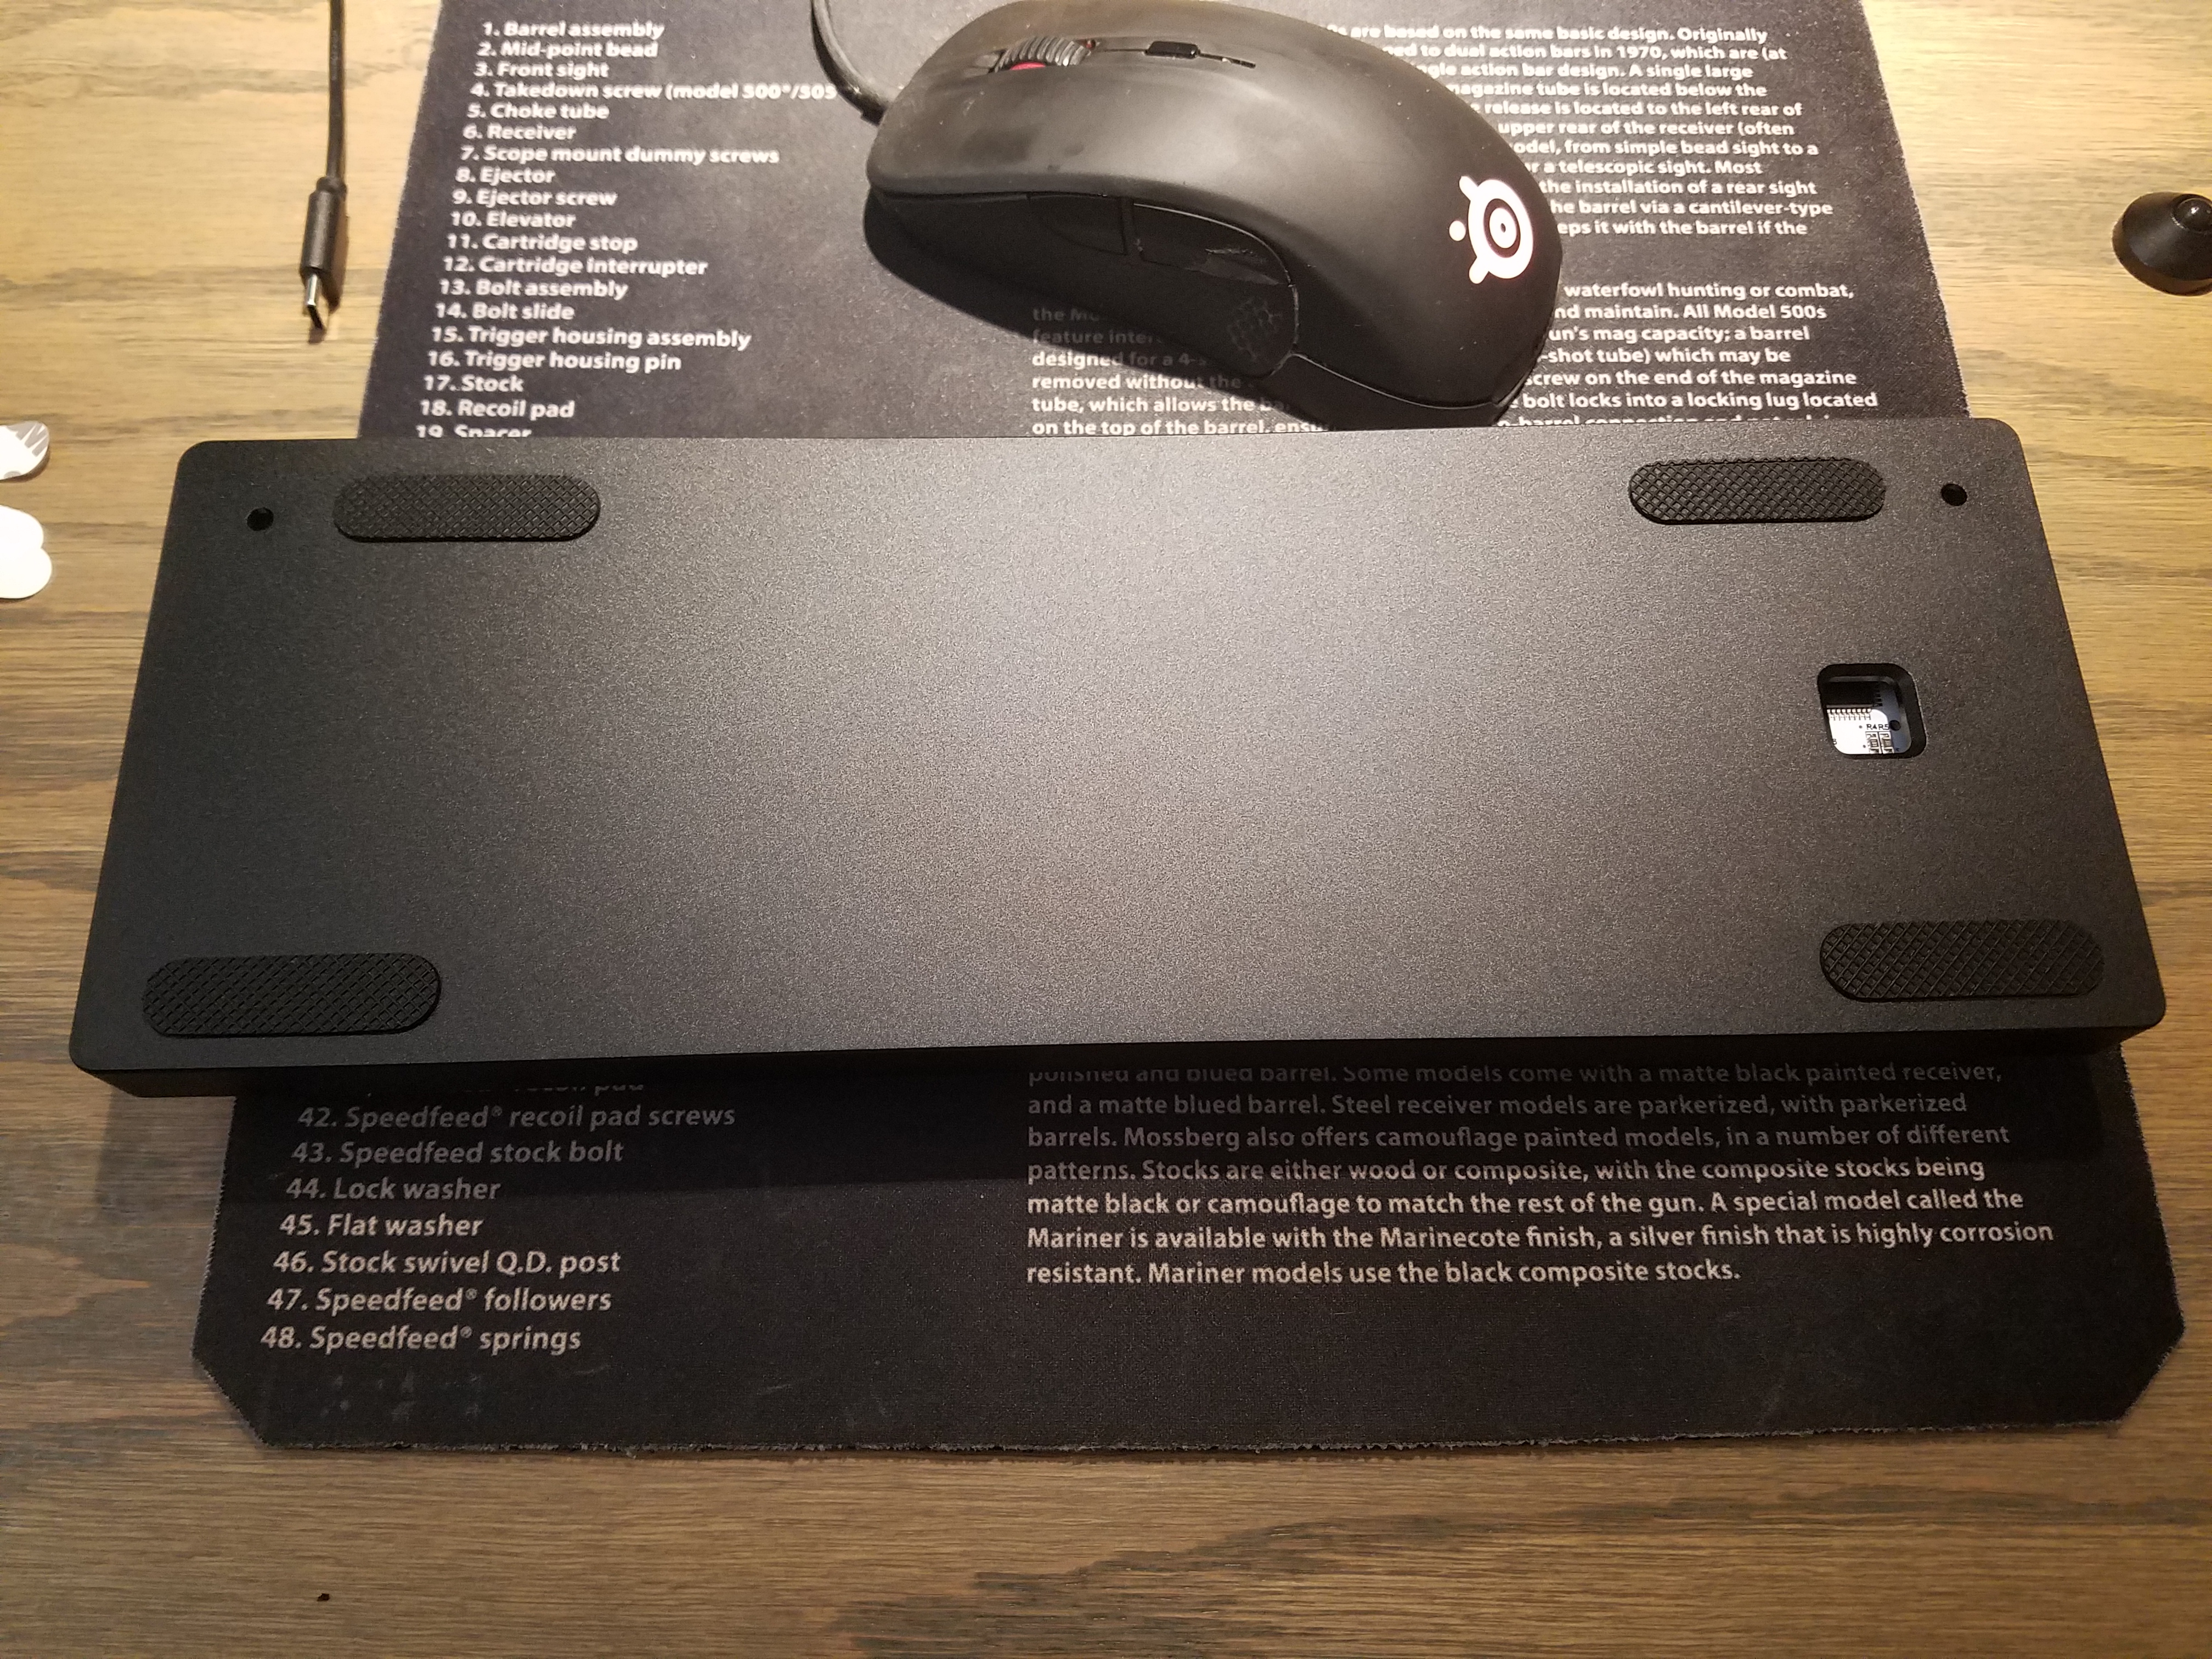
Black Aluminum Case
I like the weight of a metal case, however, the one I ordered doesn’t take advantage of the DZ60’s under glow. There are dozens of other cases in a range of materials (aluminum, acrylic, wood, plastic, etc) choose from depending on your priorities.
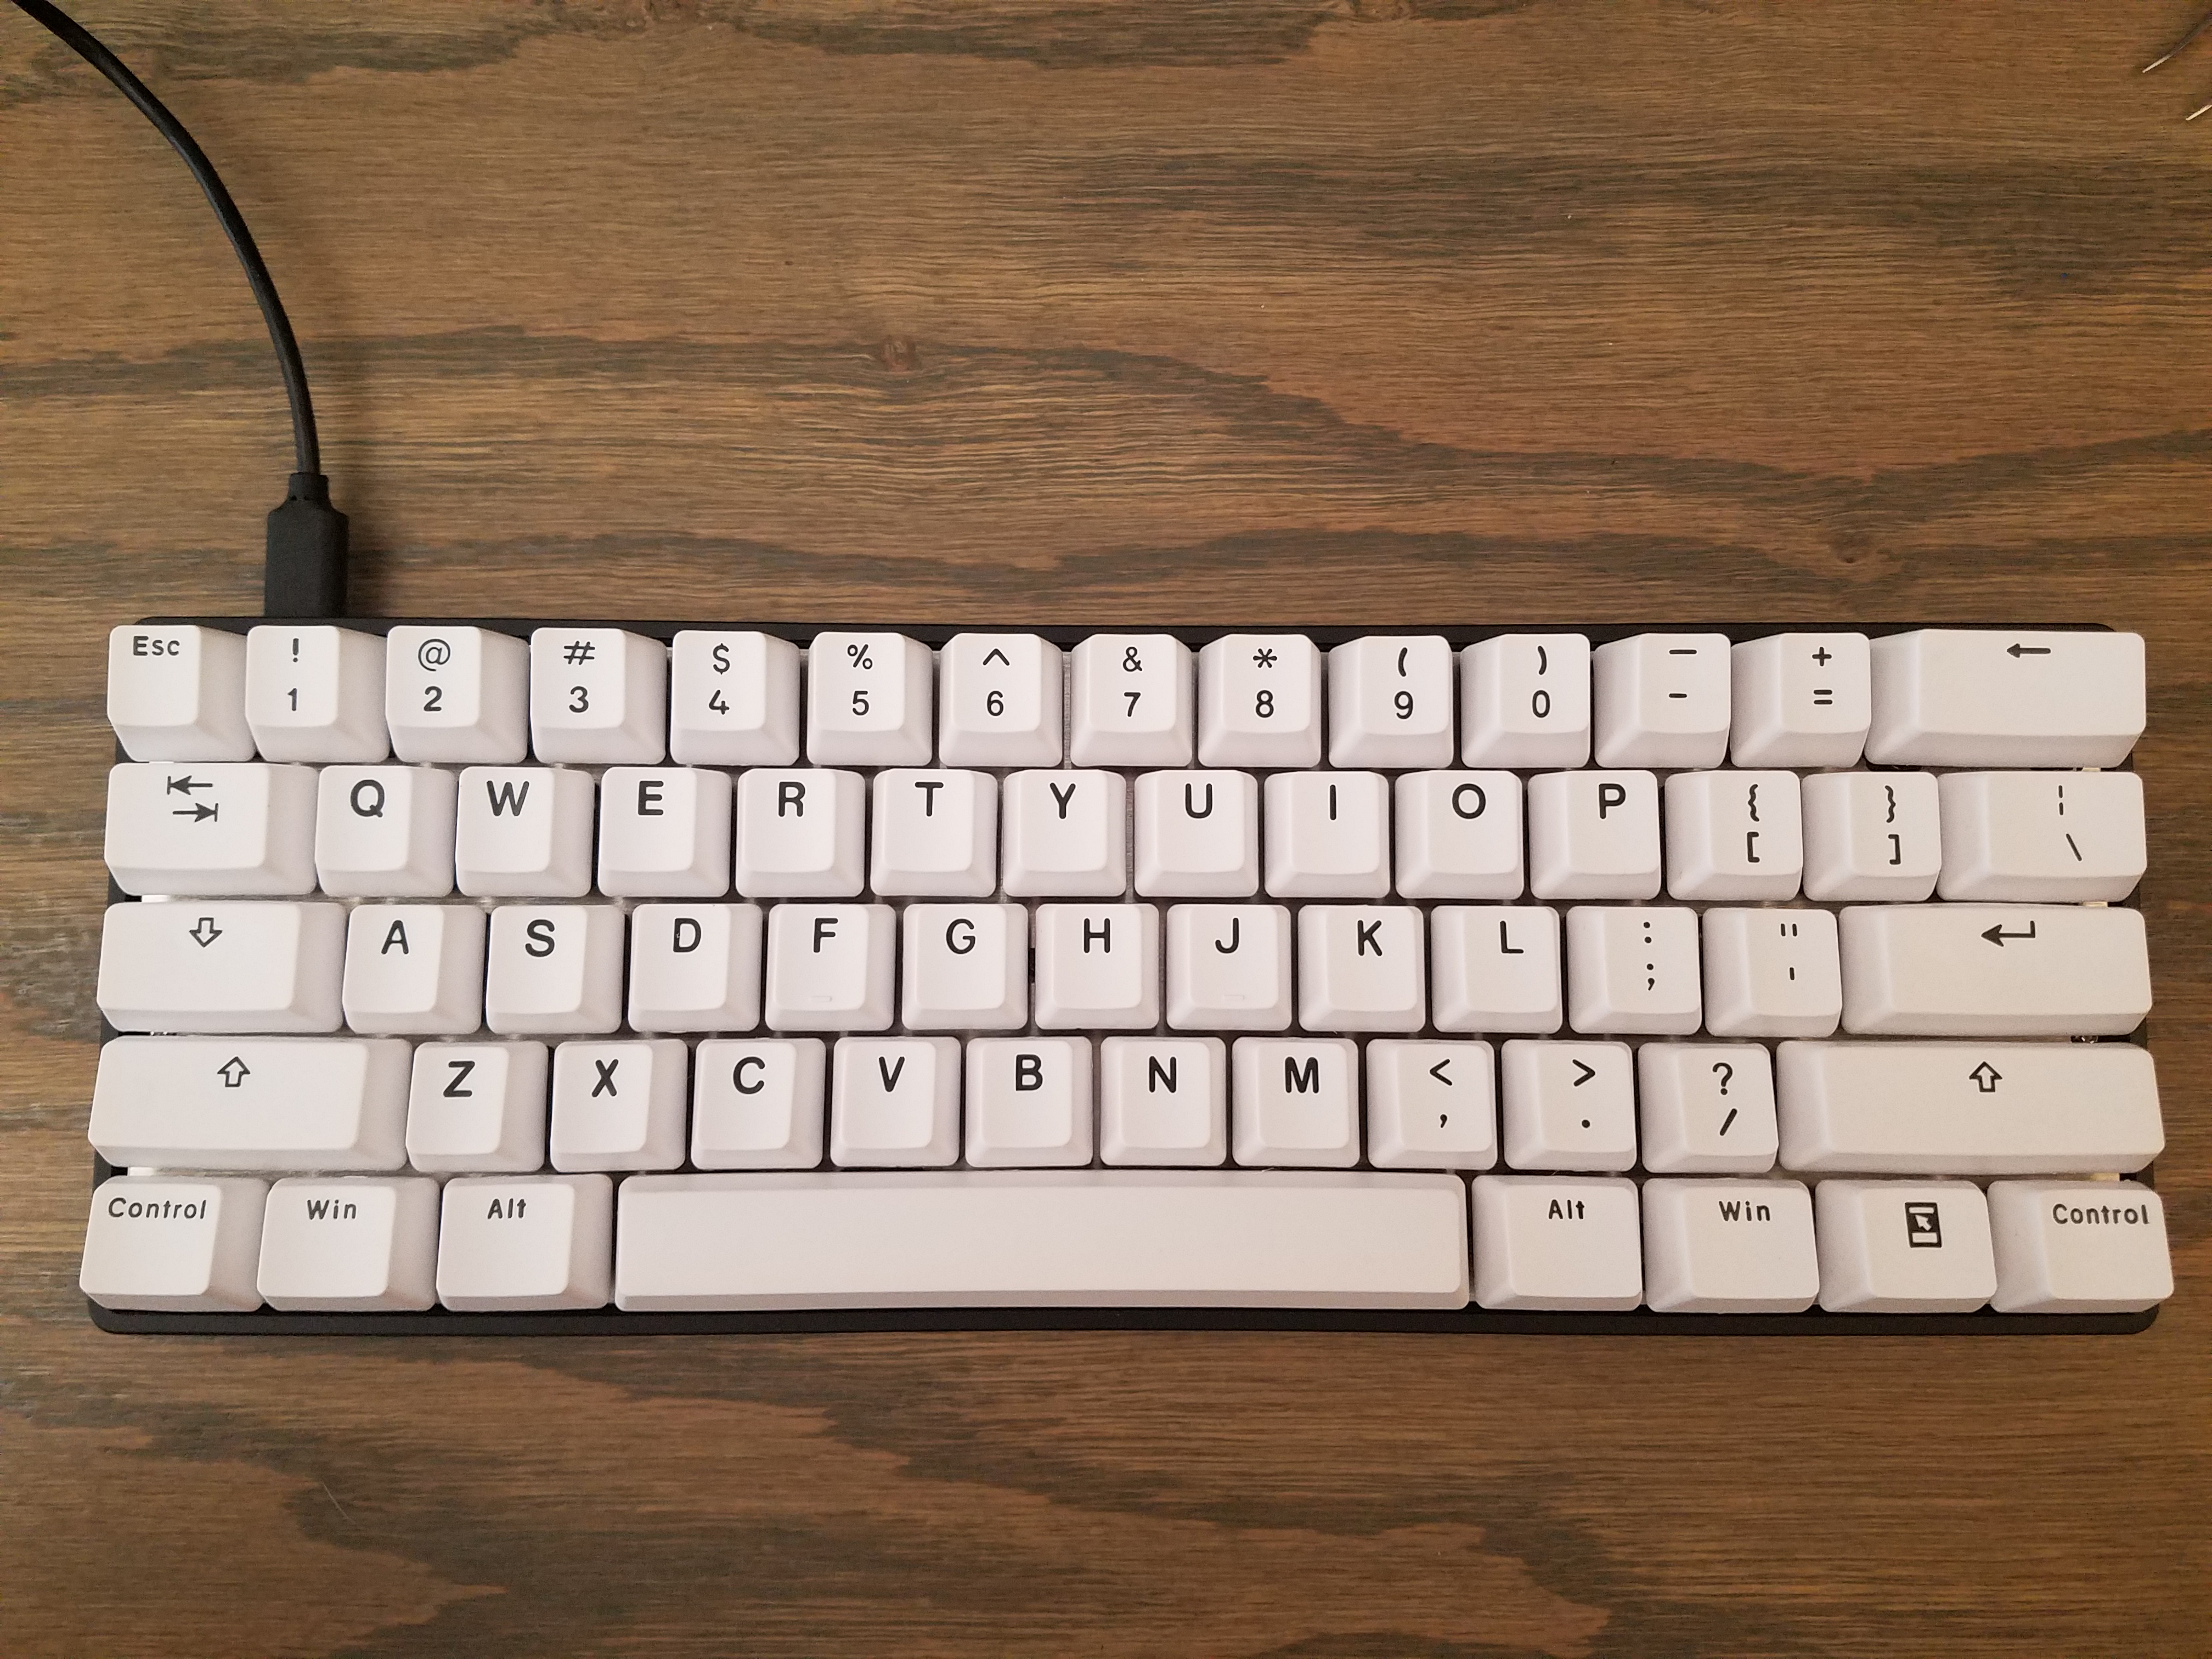
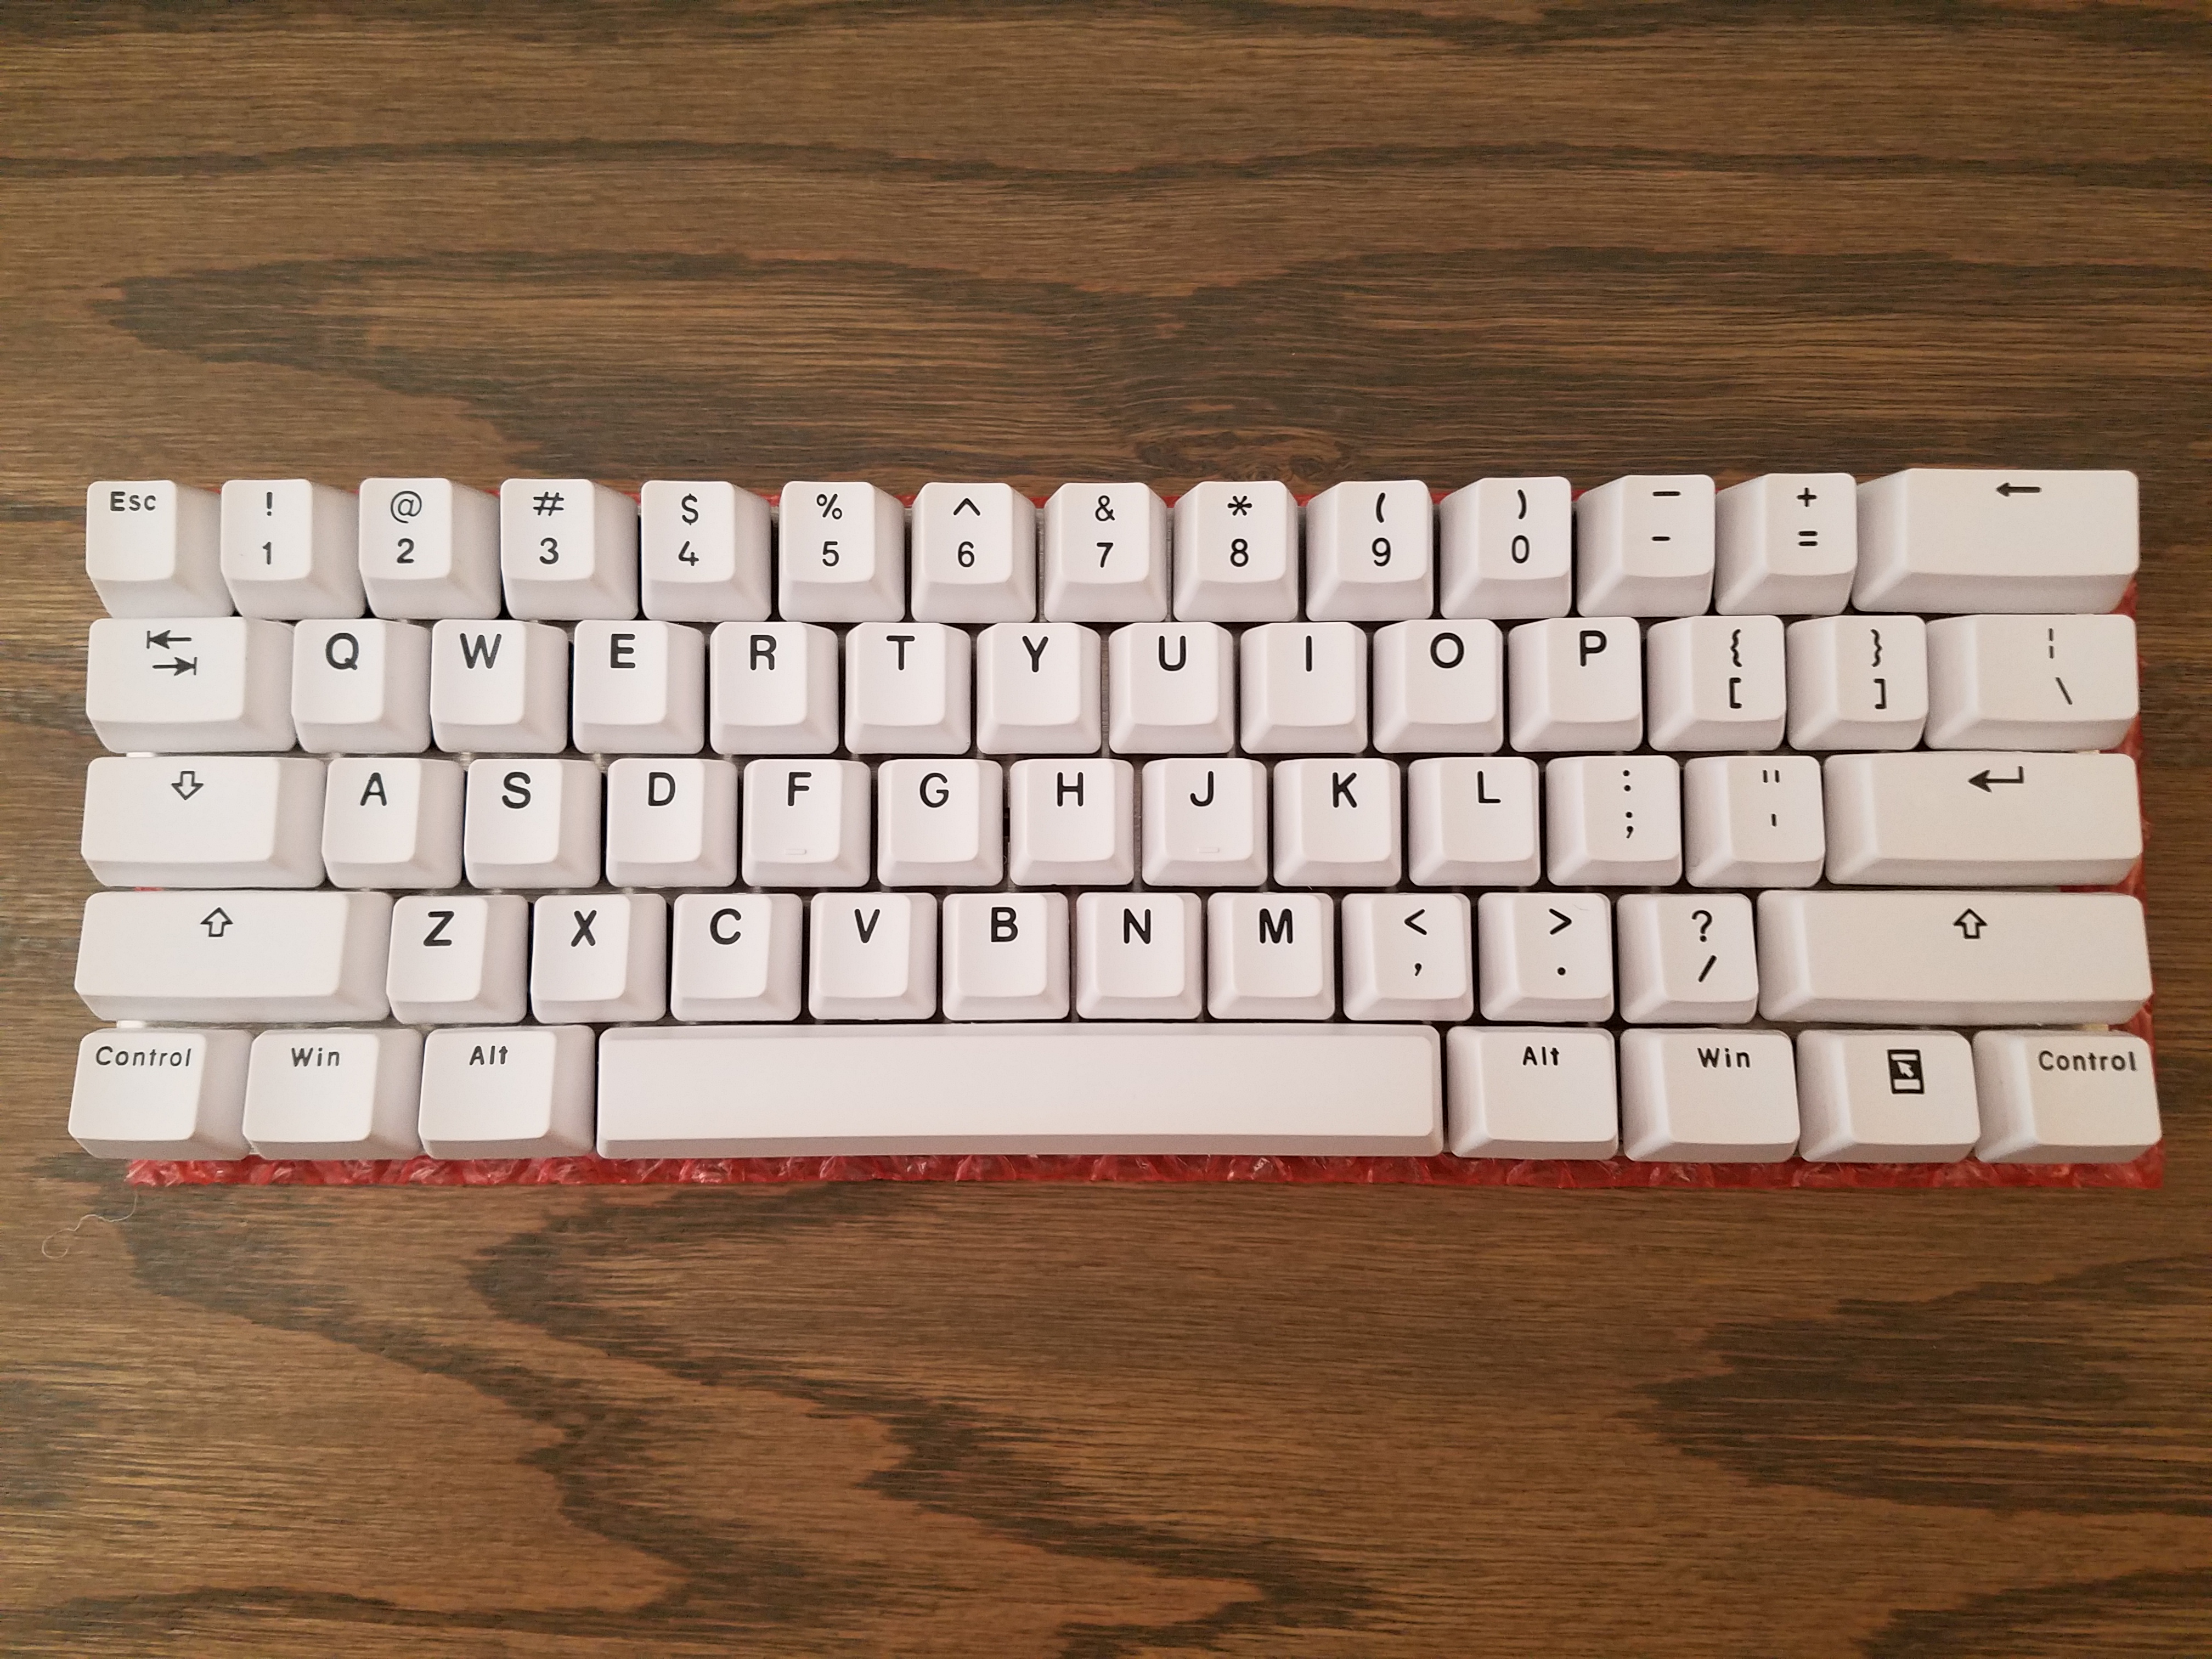
Vortex Doubleshot White/Black PBT Keycaps
It took a while to find the right keycaps, but I’m extremely pleased with the quality and love how they look and feel.
Cost Breakdown
| ITEM | PRICE |
|---|---|
| DZ60 Kit | $75.20 |
| Case | $48.78 |
| Keycaps | $39.00 |
| TOTAL | $162.98 |
Unpack
The kit was first to arrive! Which is nice since you can’t do much without it. Also pictured is my Vortex Pok3r.


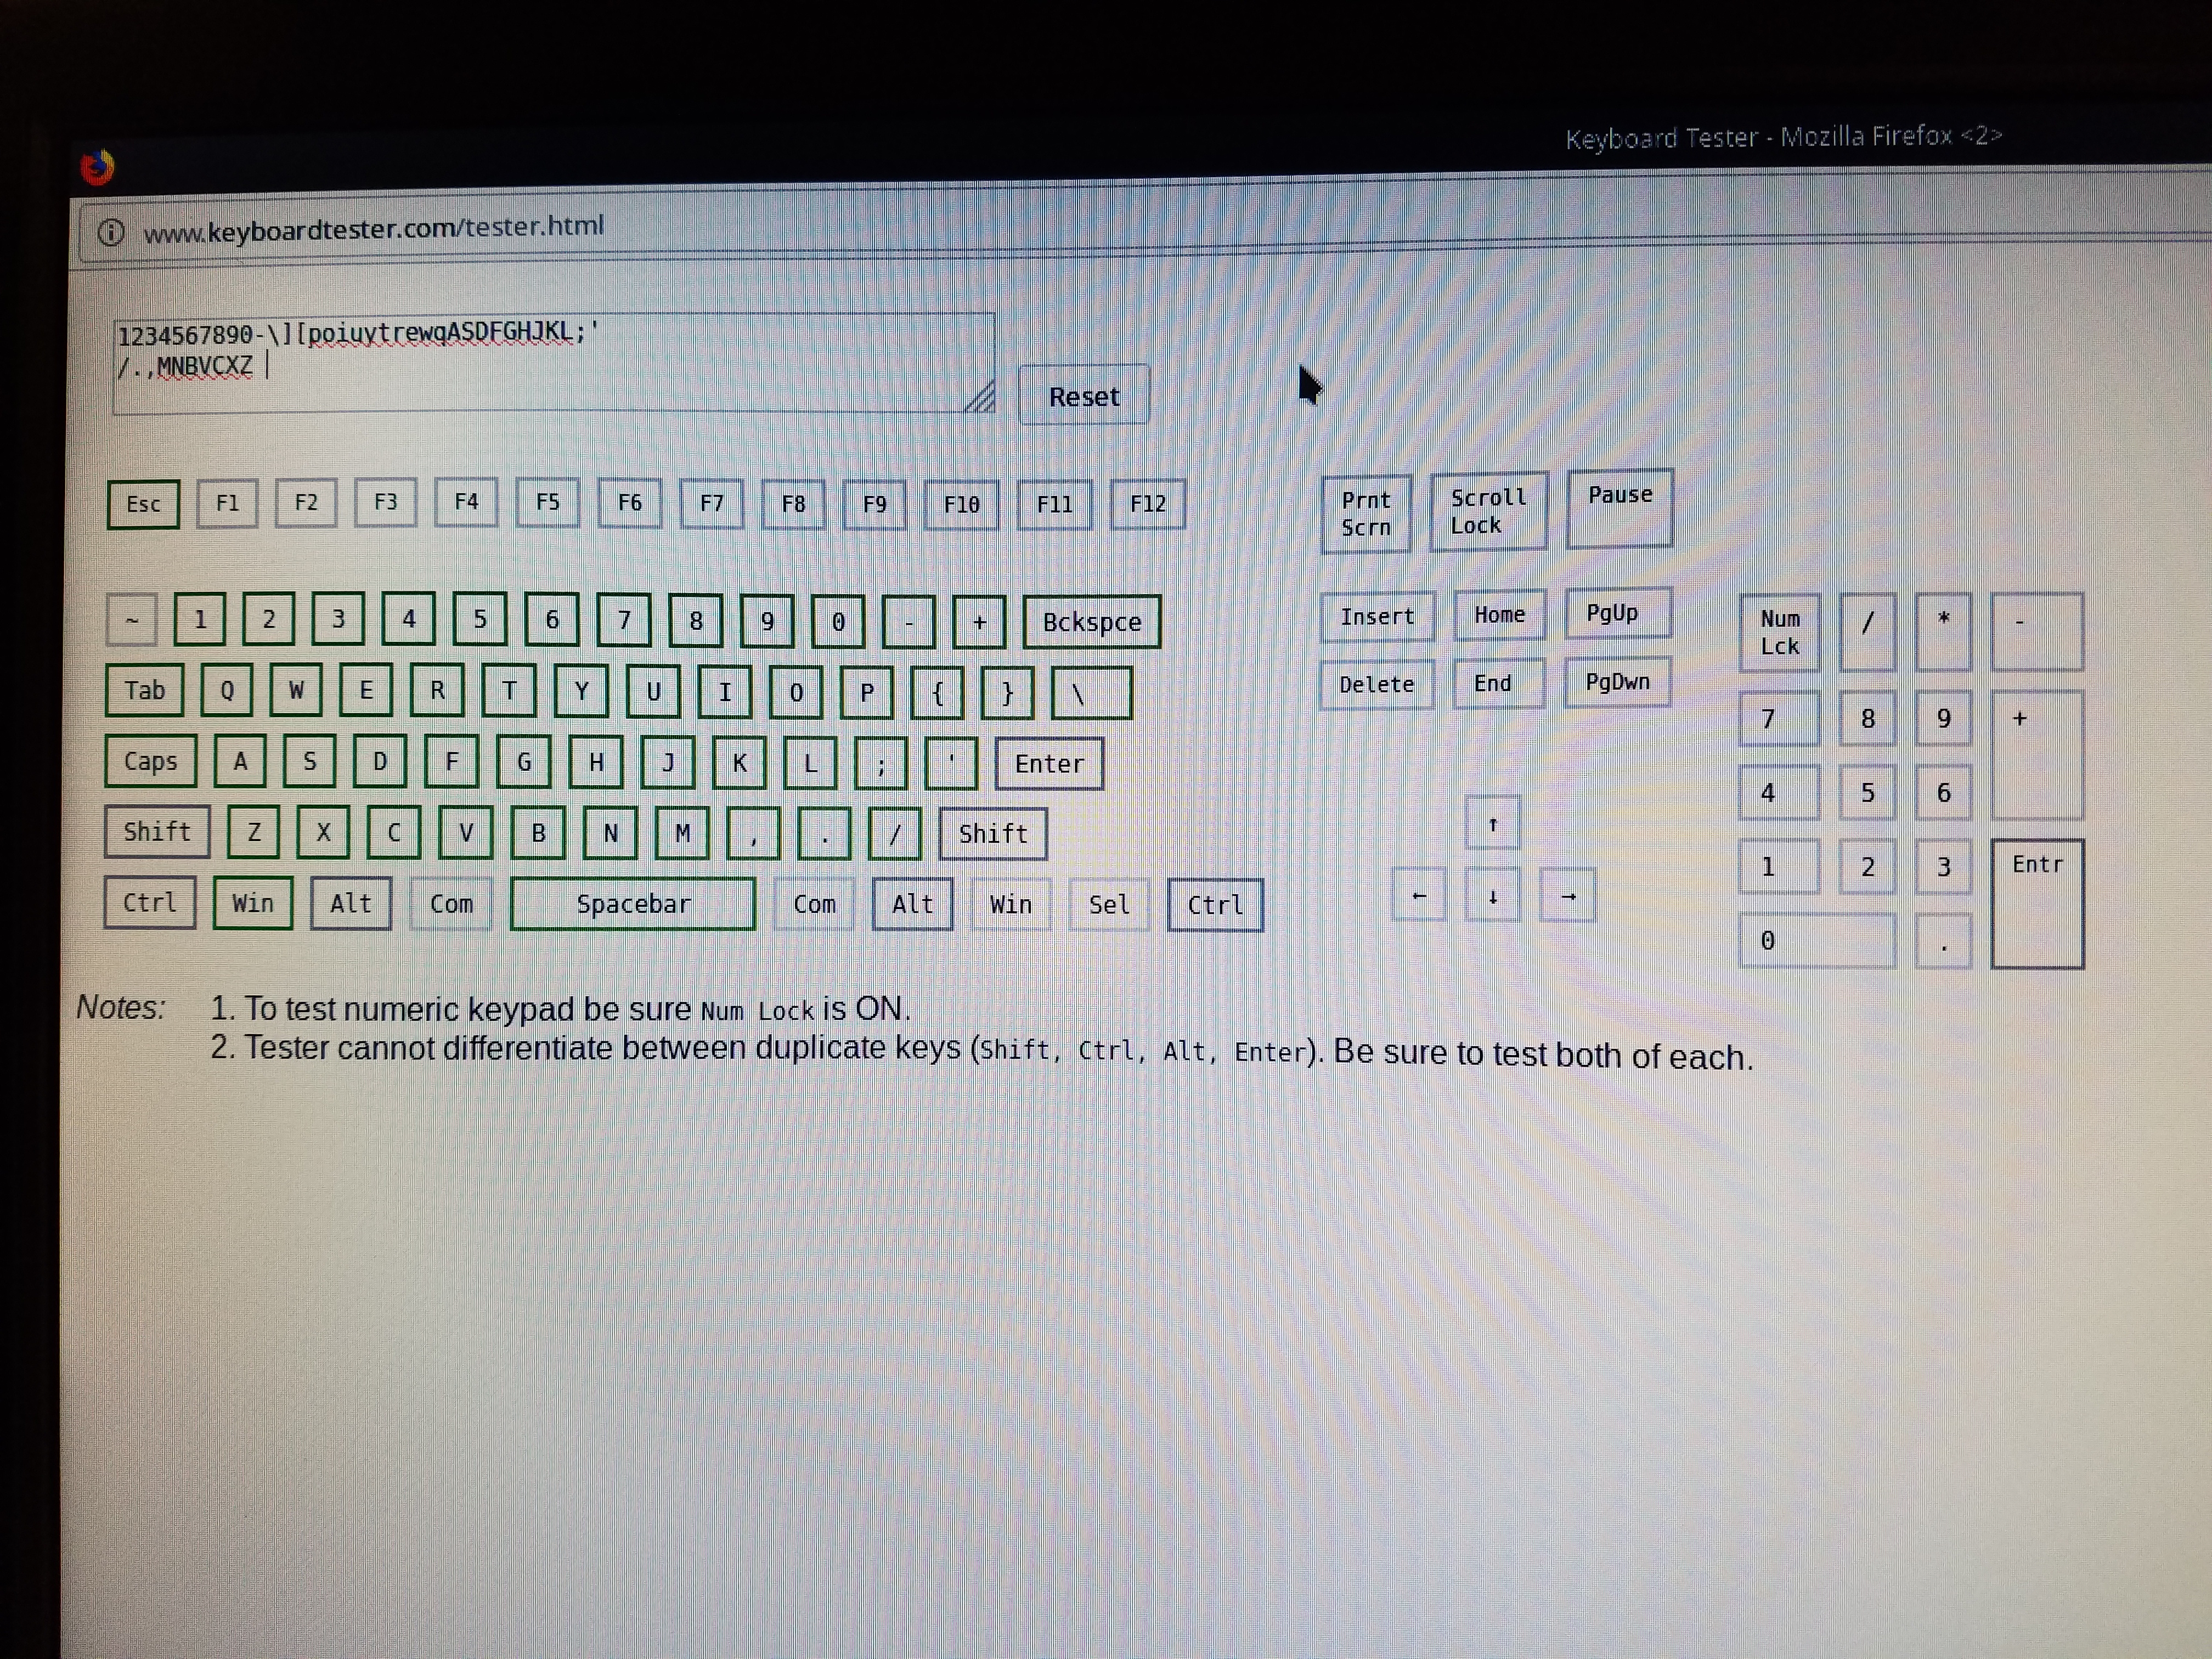
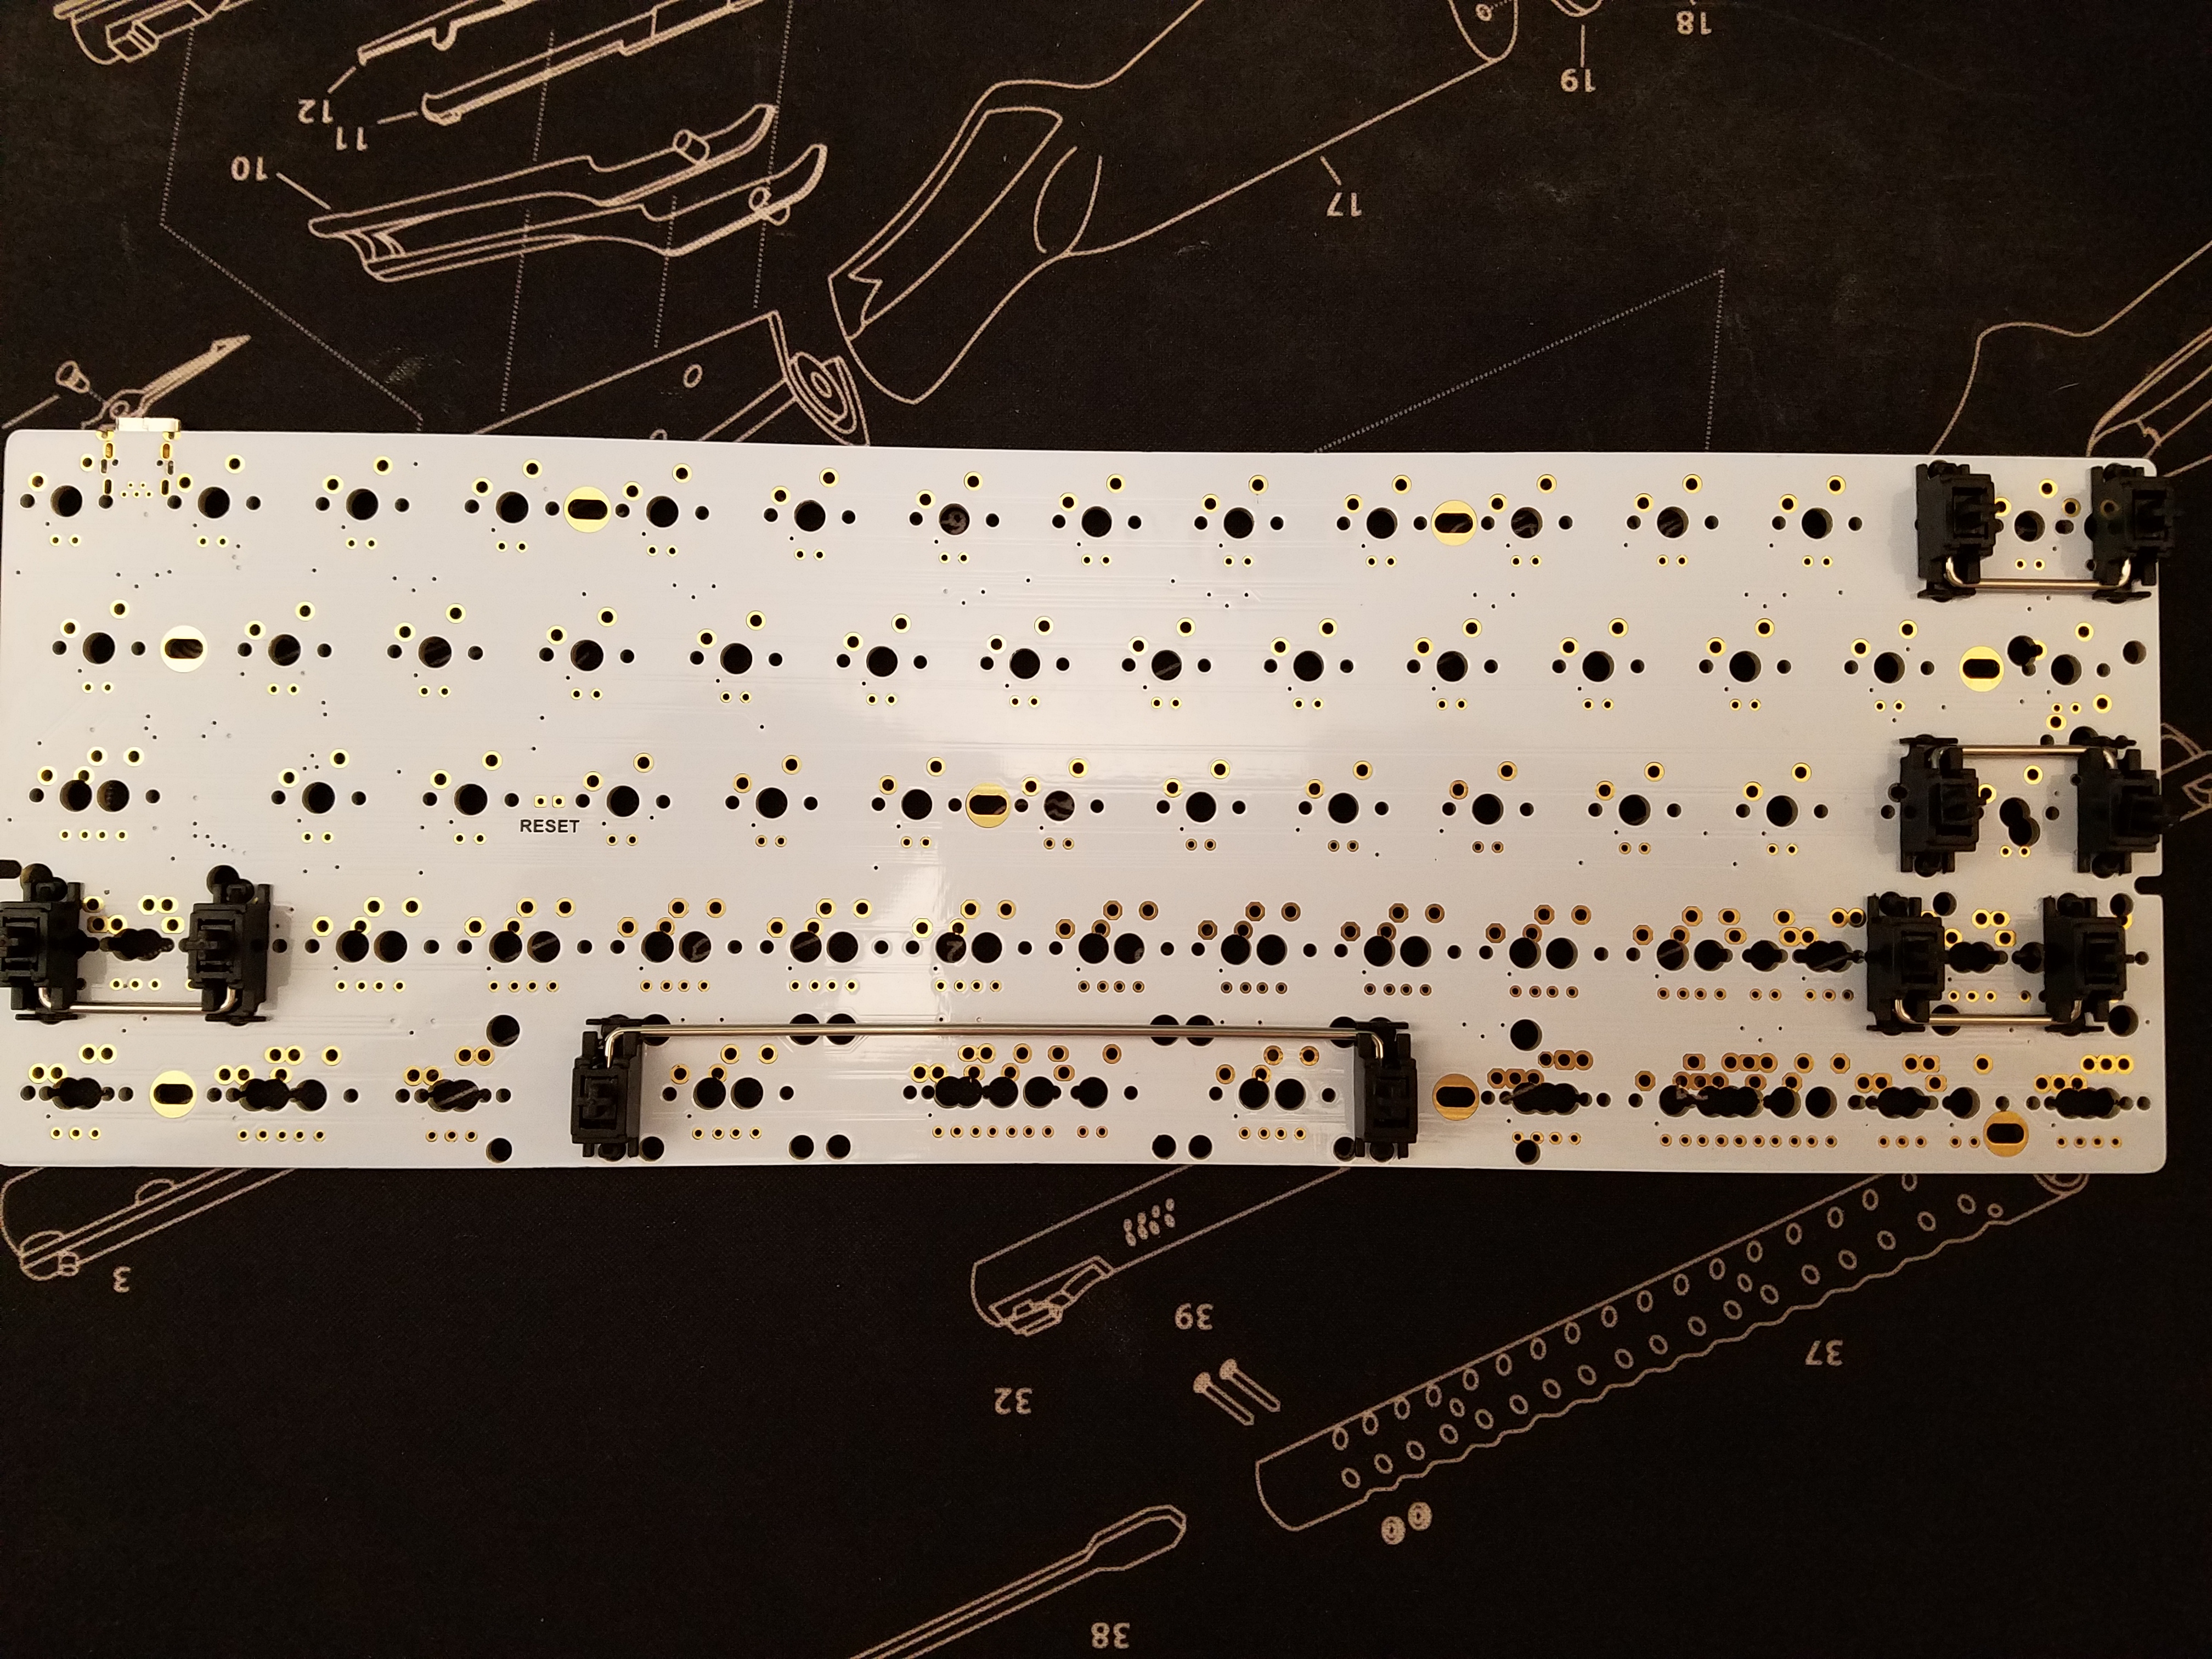
Testing the DZ60 PCB
Prior to soldering, I tested the PCB using the keyboard tester website and a pair of tweezers to confirm that each individual key registered. This also allowed me to become familiar with the soldering points.
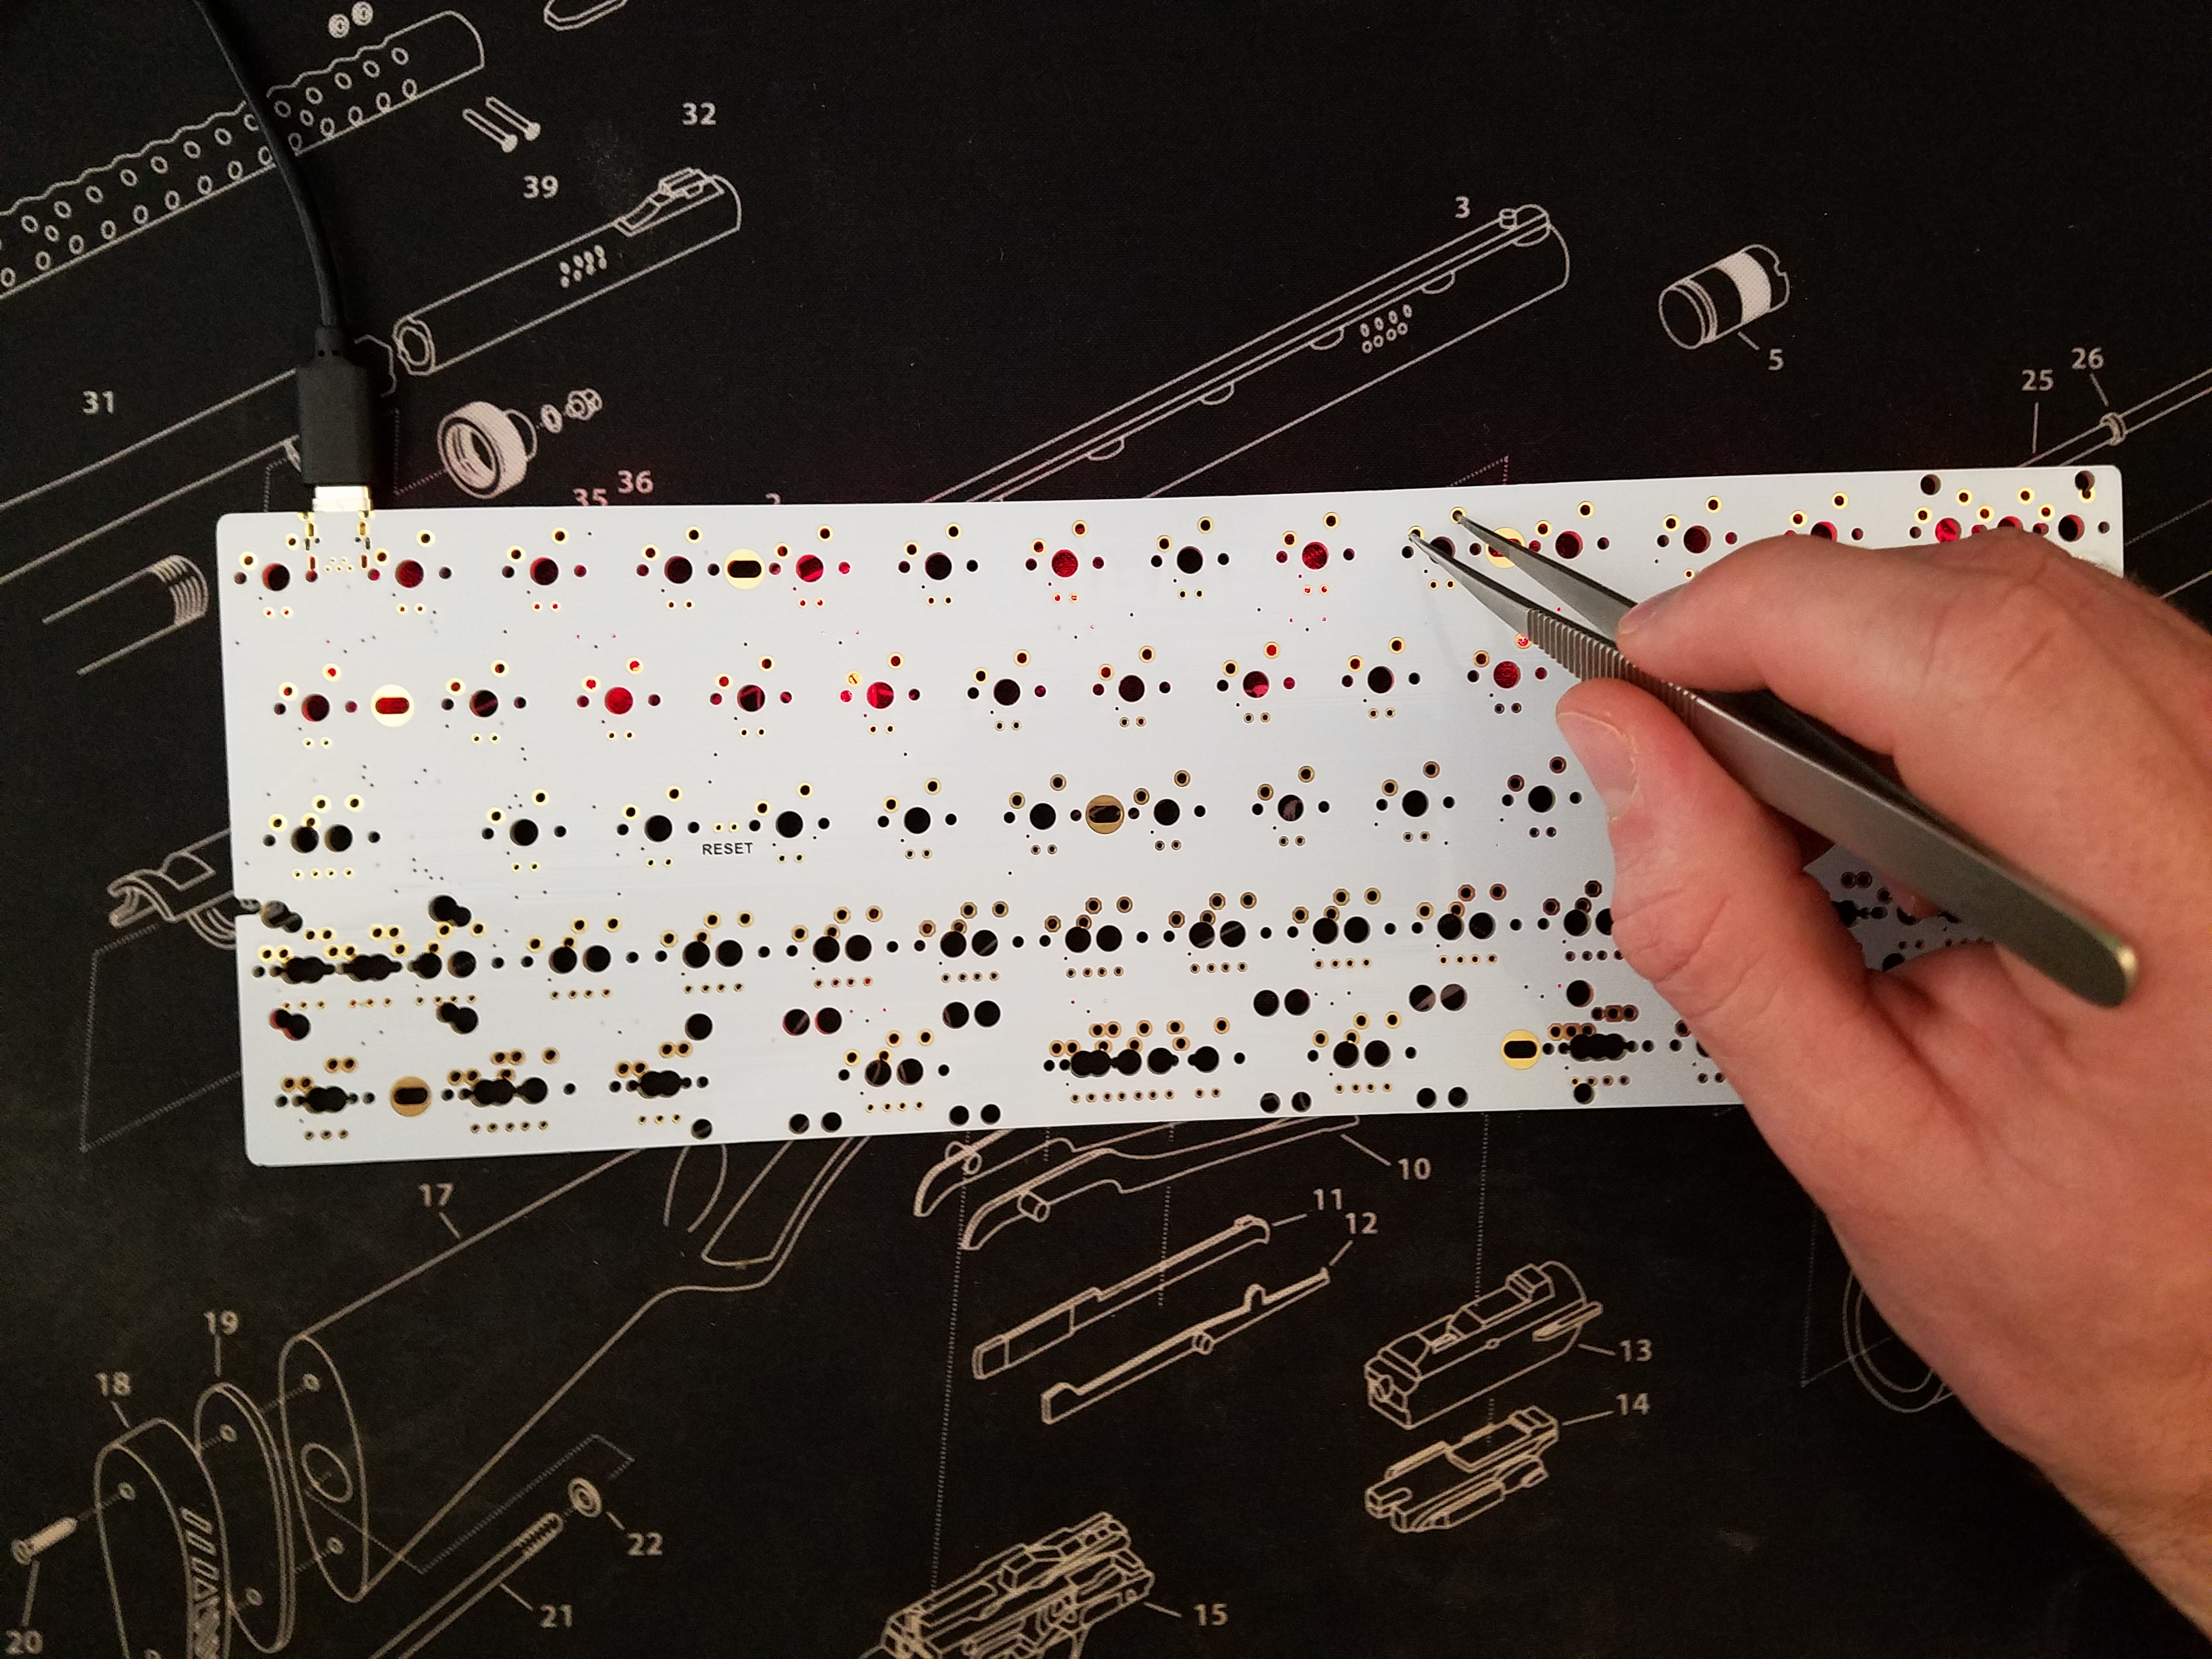
The keyboard tester website also made it easy to track and confirm each switch. You could also test inside a text editor, but the visual feedback made the process very quick.
Determine Switch Layout
After testing the PCB, I verified switch placement for my desired layout by placing them on the plate and resting the keycaps on top. I then verified which soldering points to use for the bottom row and wide modifier keys.
Place Stabilizers
Once I knew where each of the switches would be placed, I installed the stabilizers on the PCB. The feet of the stabilizers have a tab on one side and clips on the other. Orient the stabilizers on the PCB such that the tab hooks in the large hole and press it down until the clips expand in the small hole.
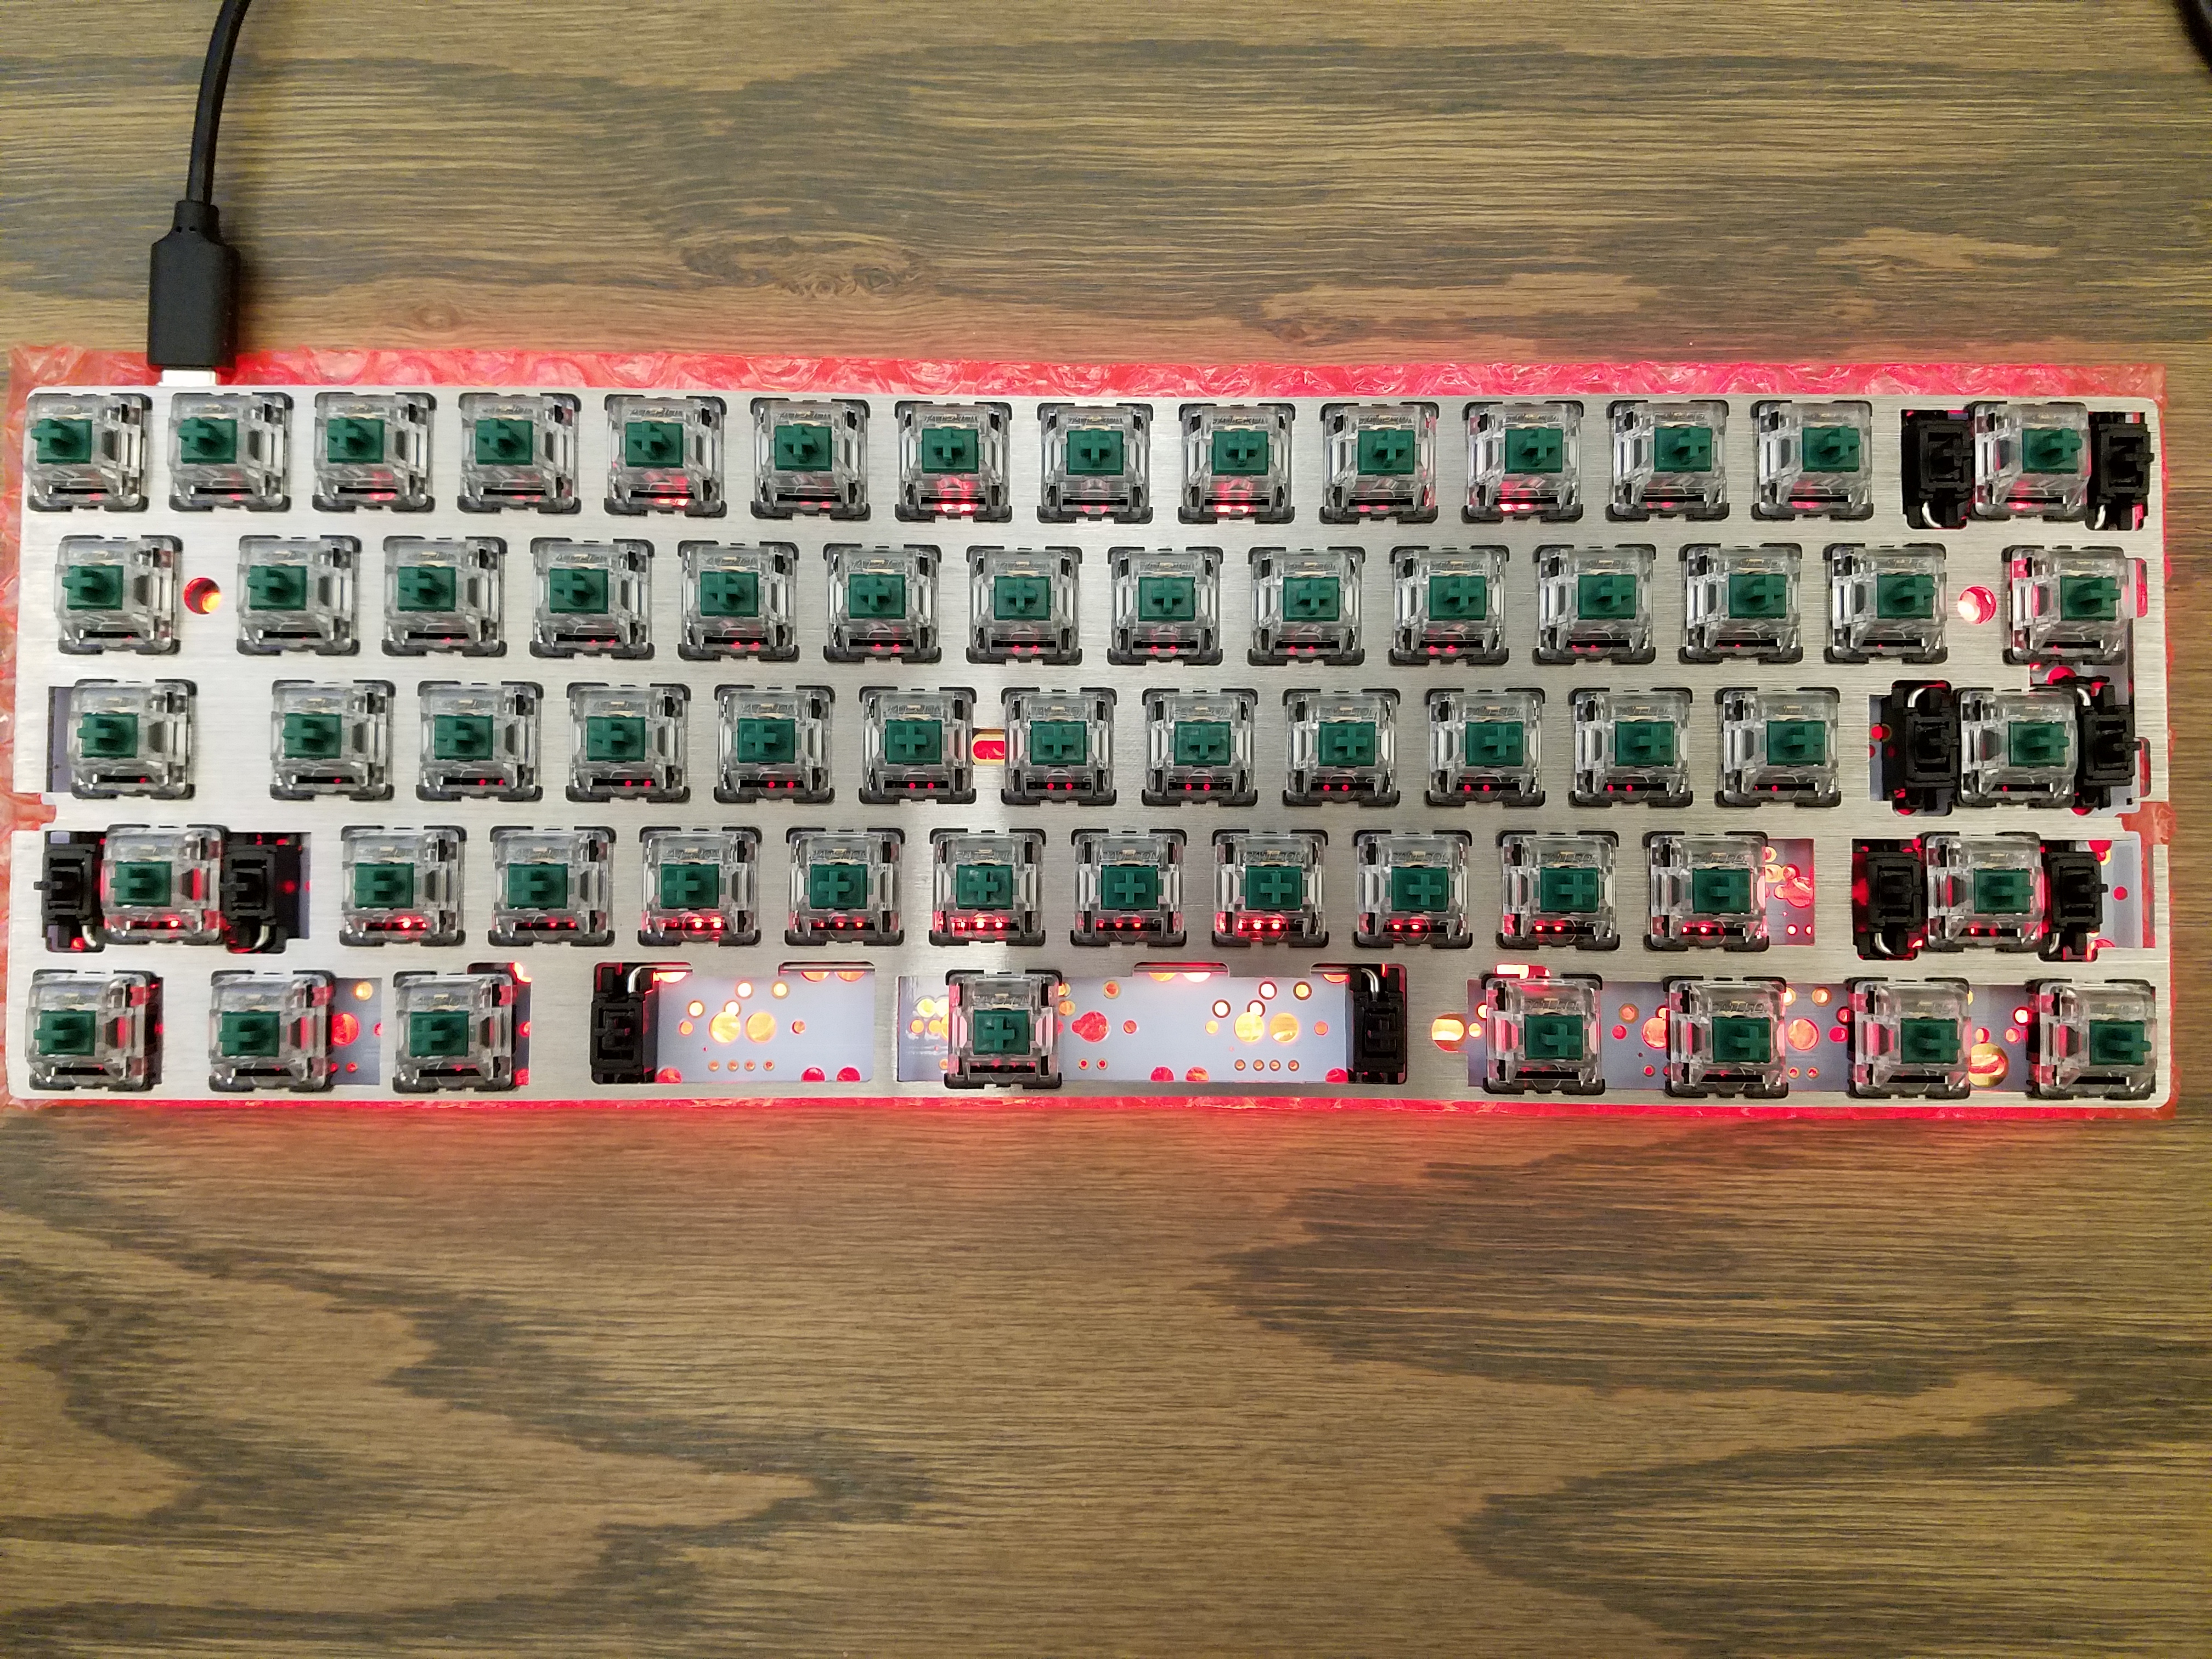
Solder Switches
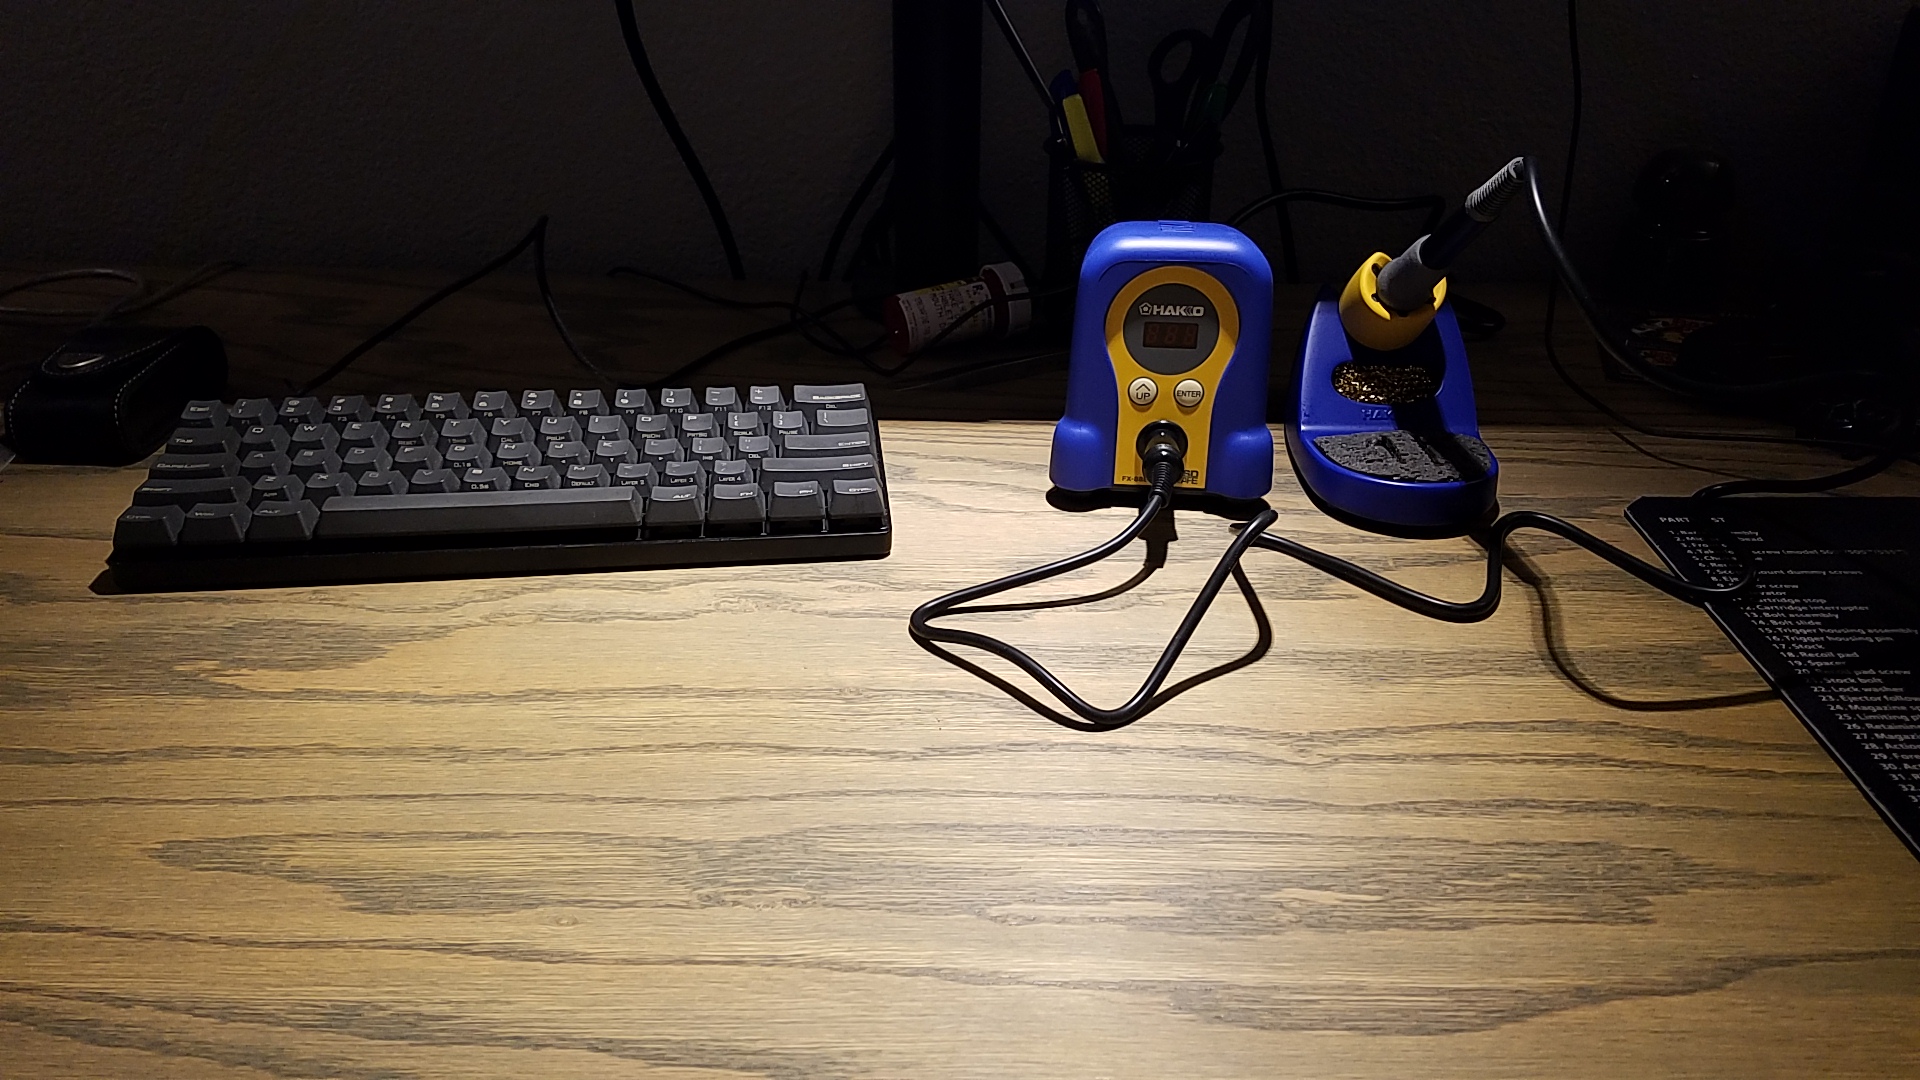
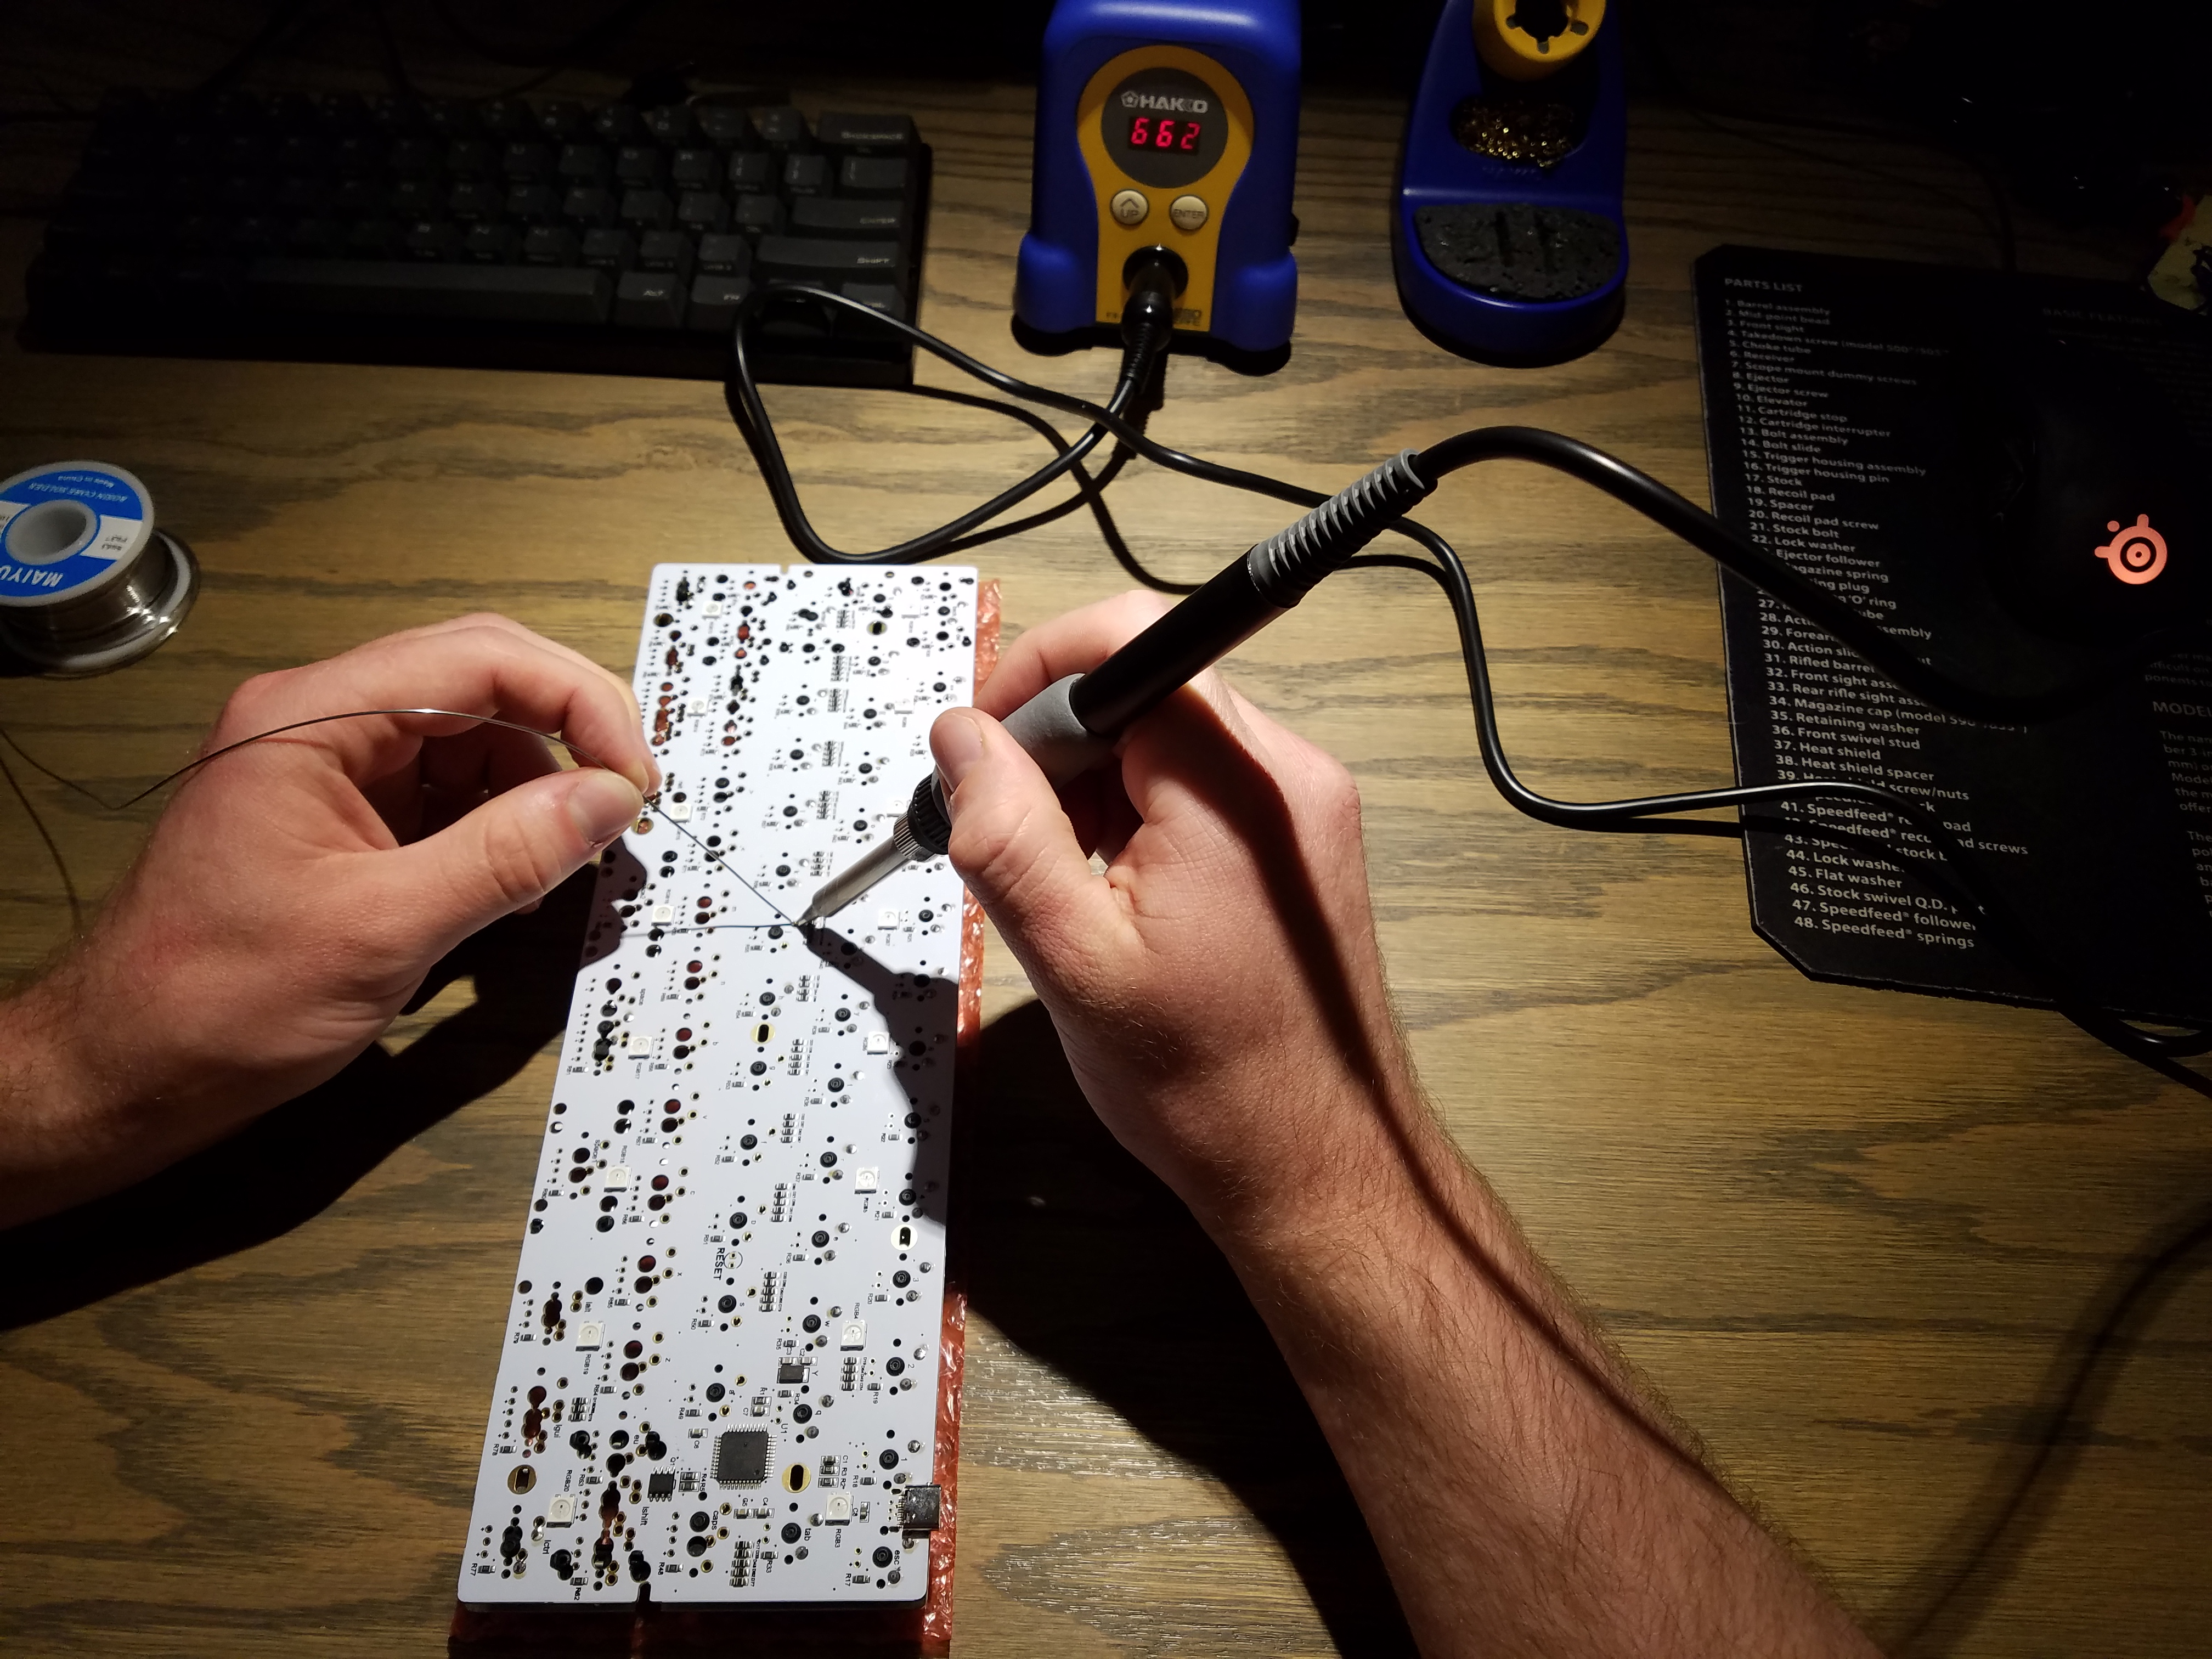
Time to begin soldering and take the Hakko FX-888D on its maiden voyage! I cleaned up my work area and removed anything that might be flammable or get in the way. Put on some M.A.S.H. re-runs and got down to it.
I started by soldering switches in each of the corners and one in the center. This held everything in place and removed a slight bend from the plate. I then soldered one row at a time, confirmed the positioning of the keycaps, and tested the switches.
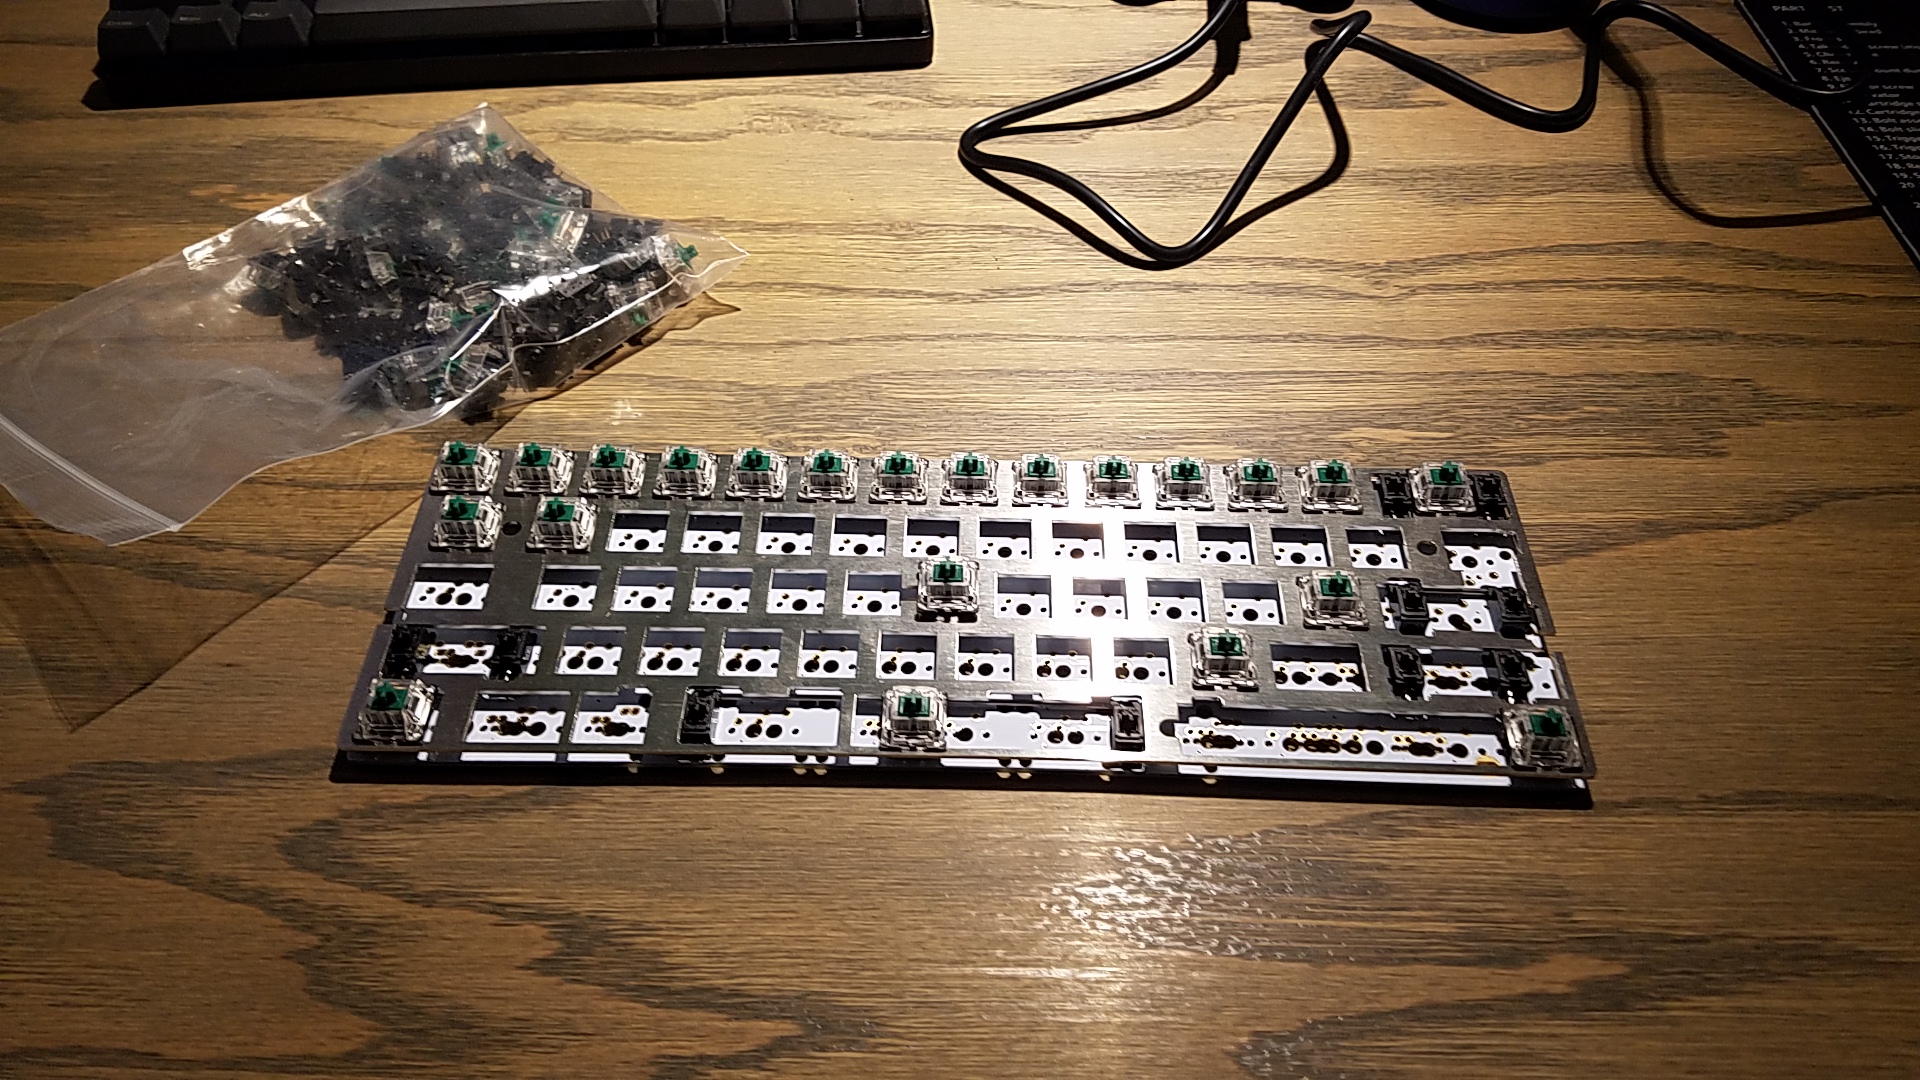
I did a final test once all of the switches were in place to check that all of the pins were properly connected. I also tried typing on it, it’s a lot harder without keycaps.
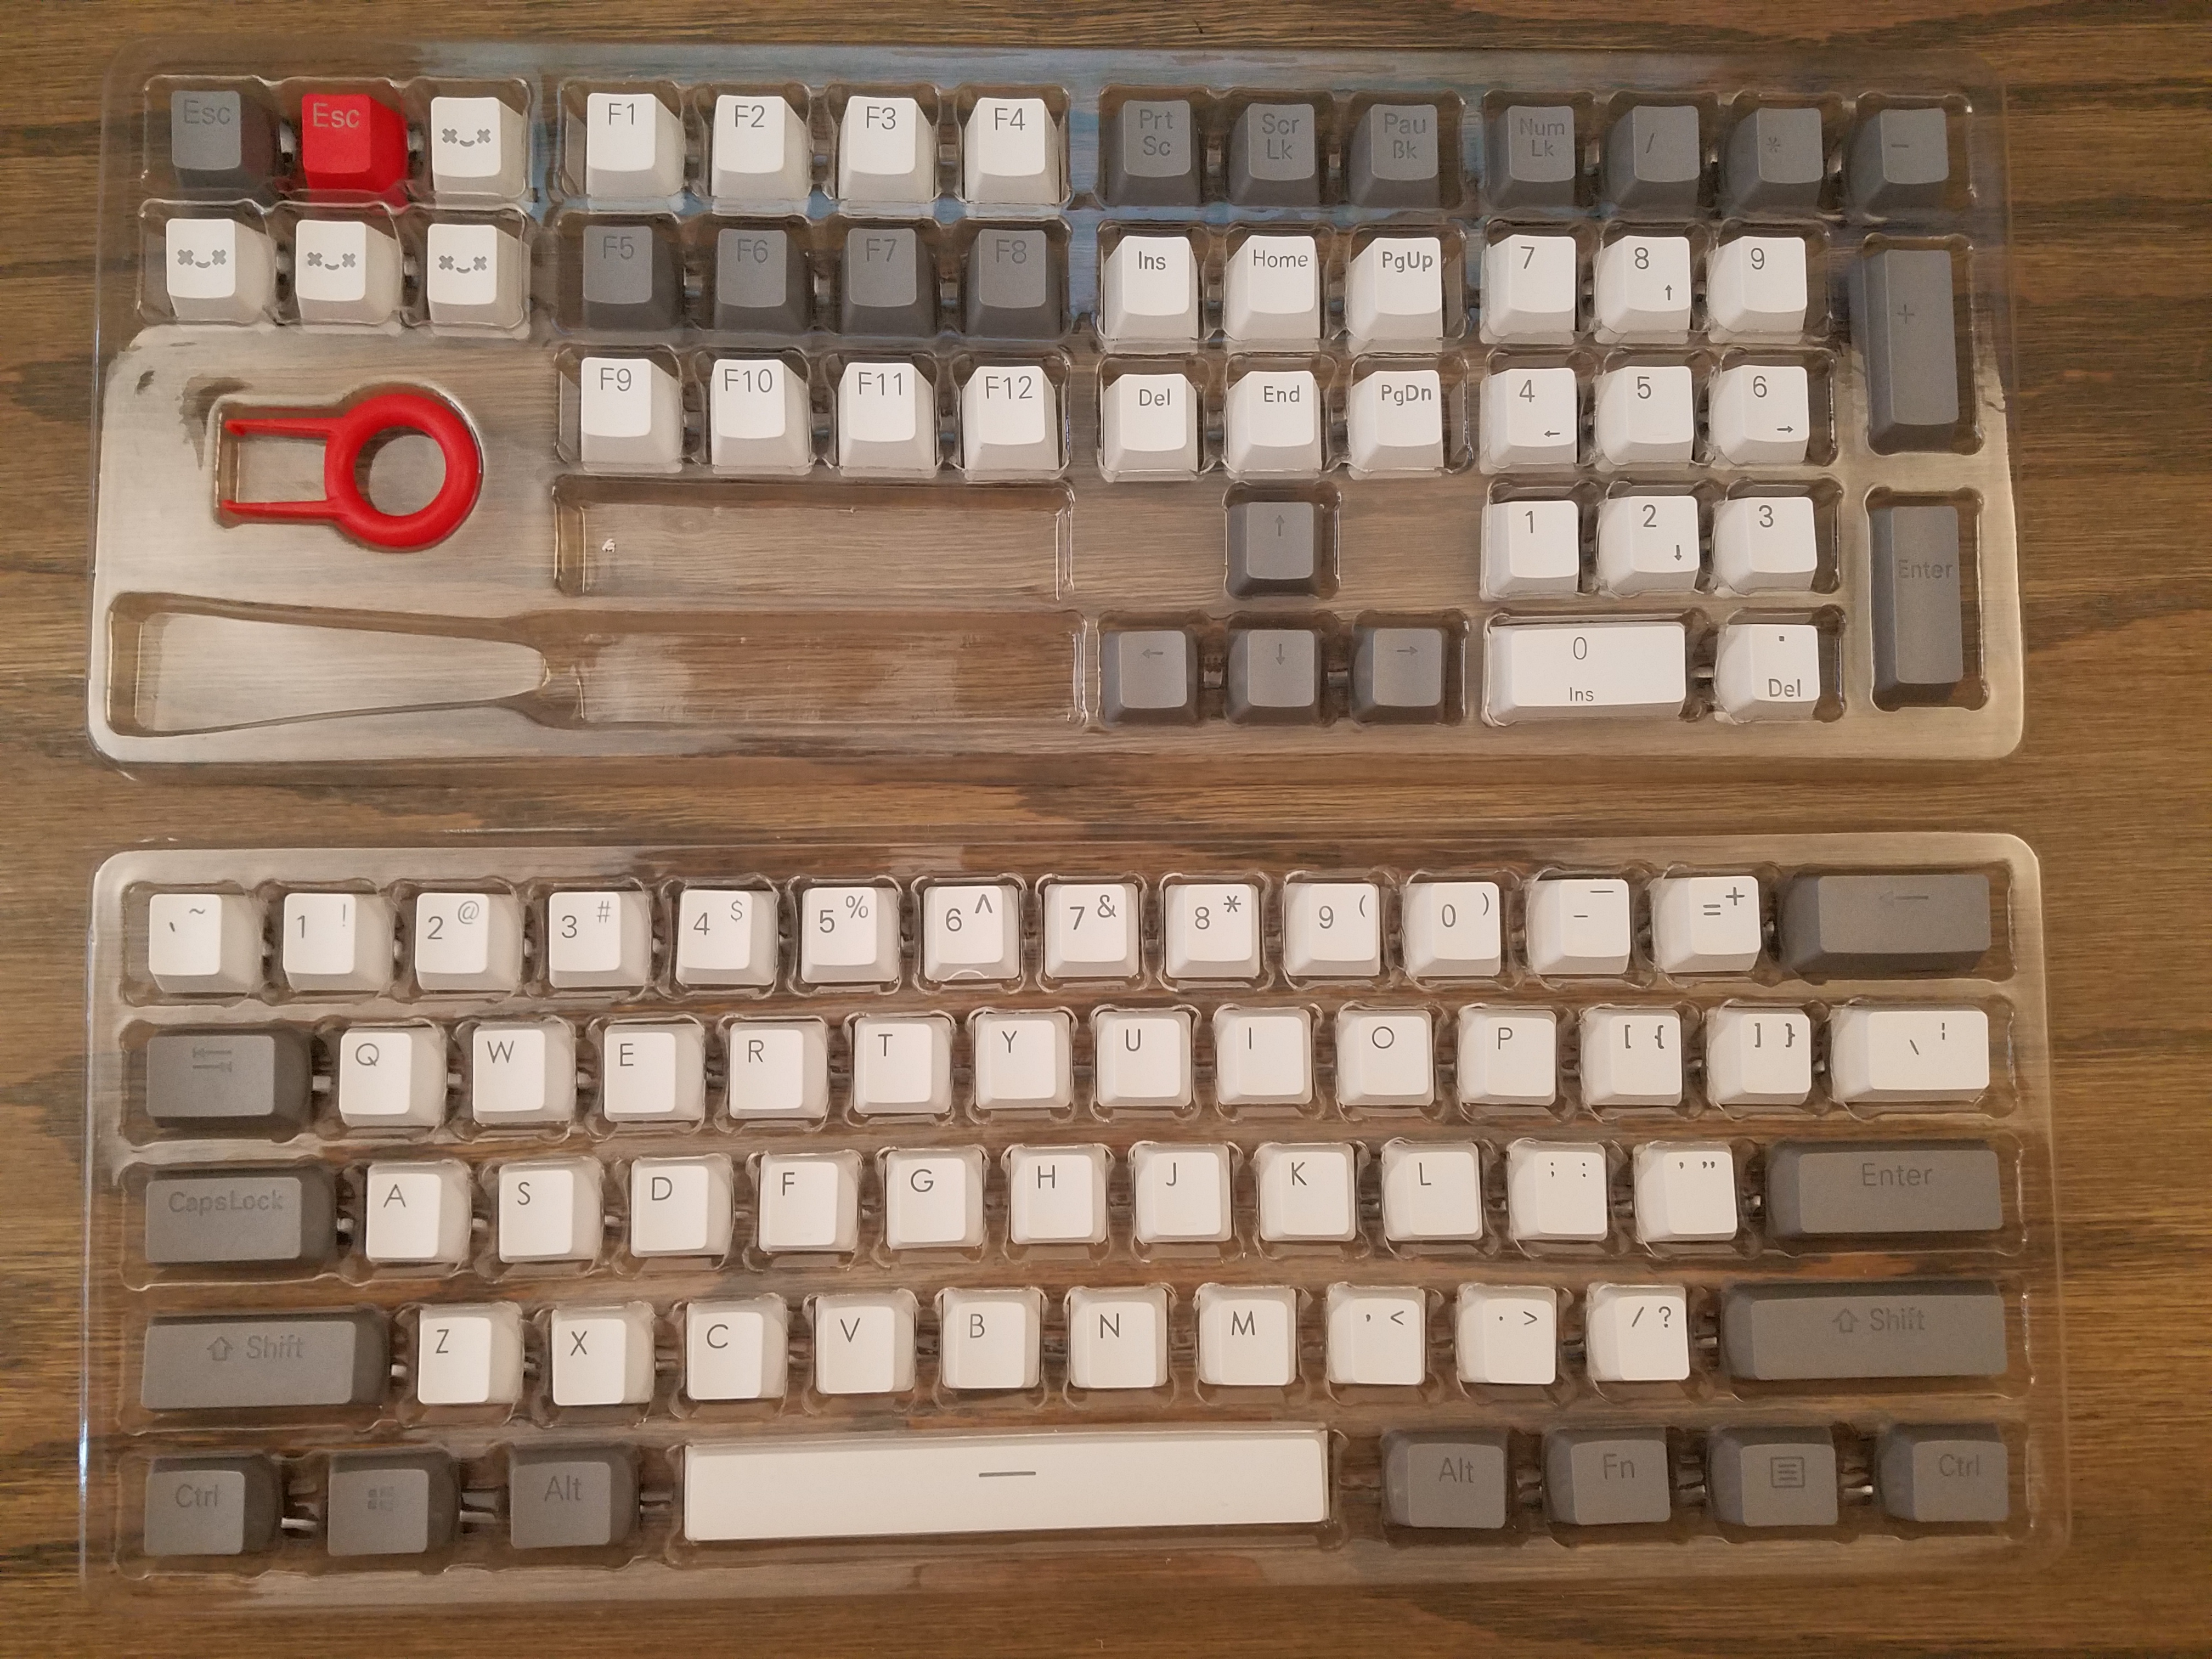
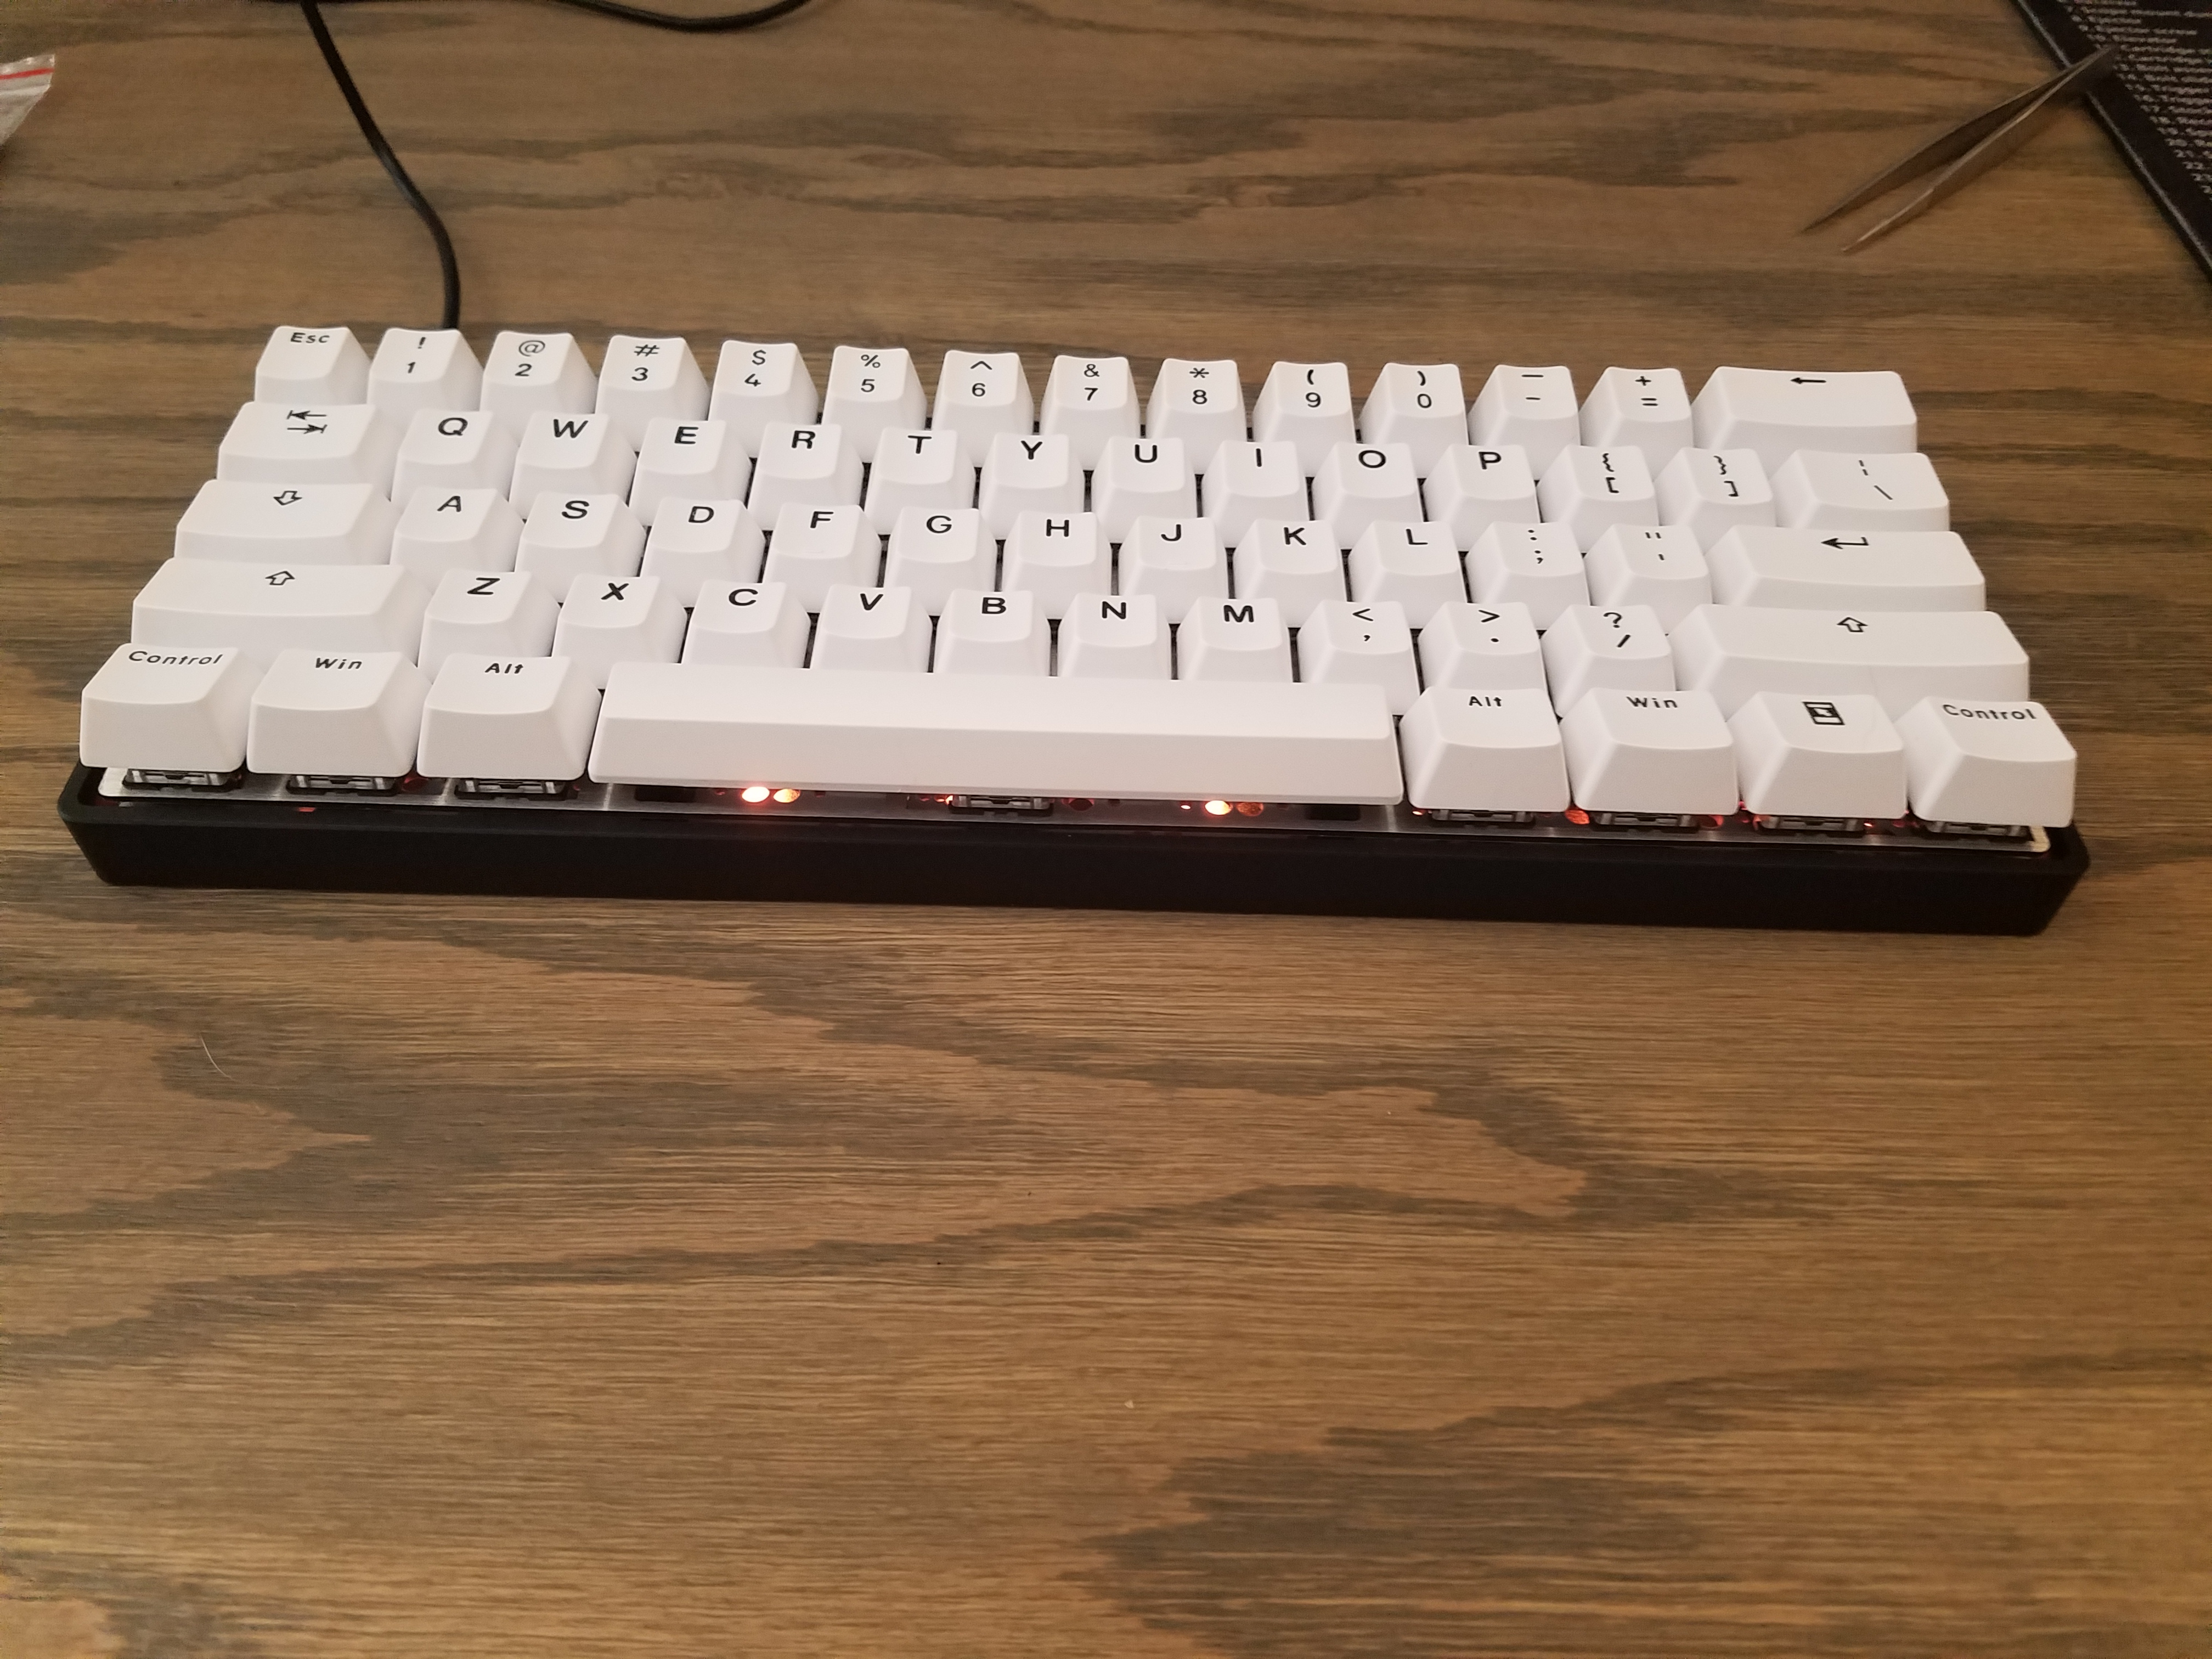
Install Keycaps
Installing keycaps is extremely simple:
-
Line up the keycap over the switch’s stem
-
Firmly press down until fully seated
Ideally, you’d mount the PCB in the case prior to adding keycaps. However, my case arrived two weeks after the rest of the parts and I was excited to start using the keyboard.
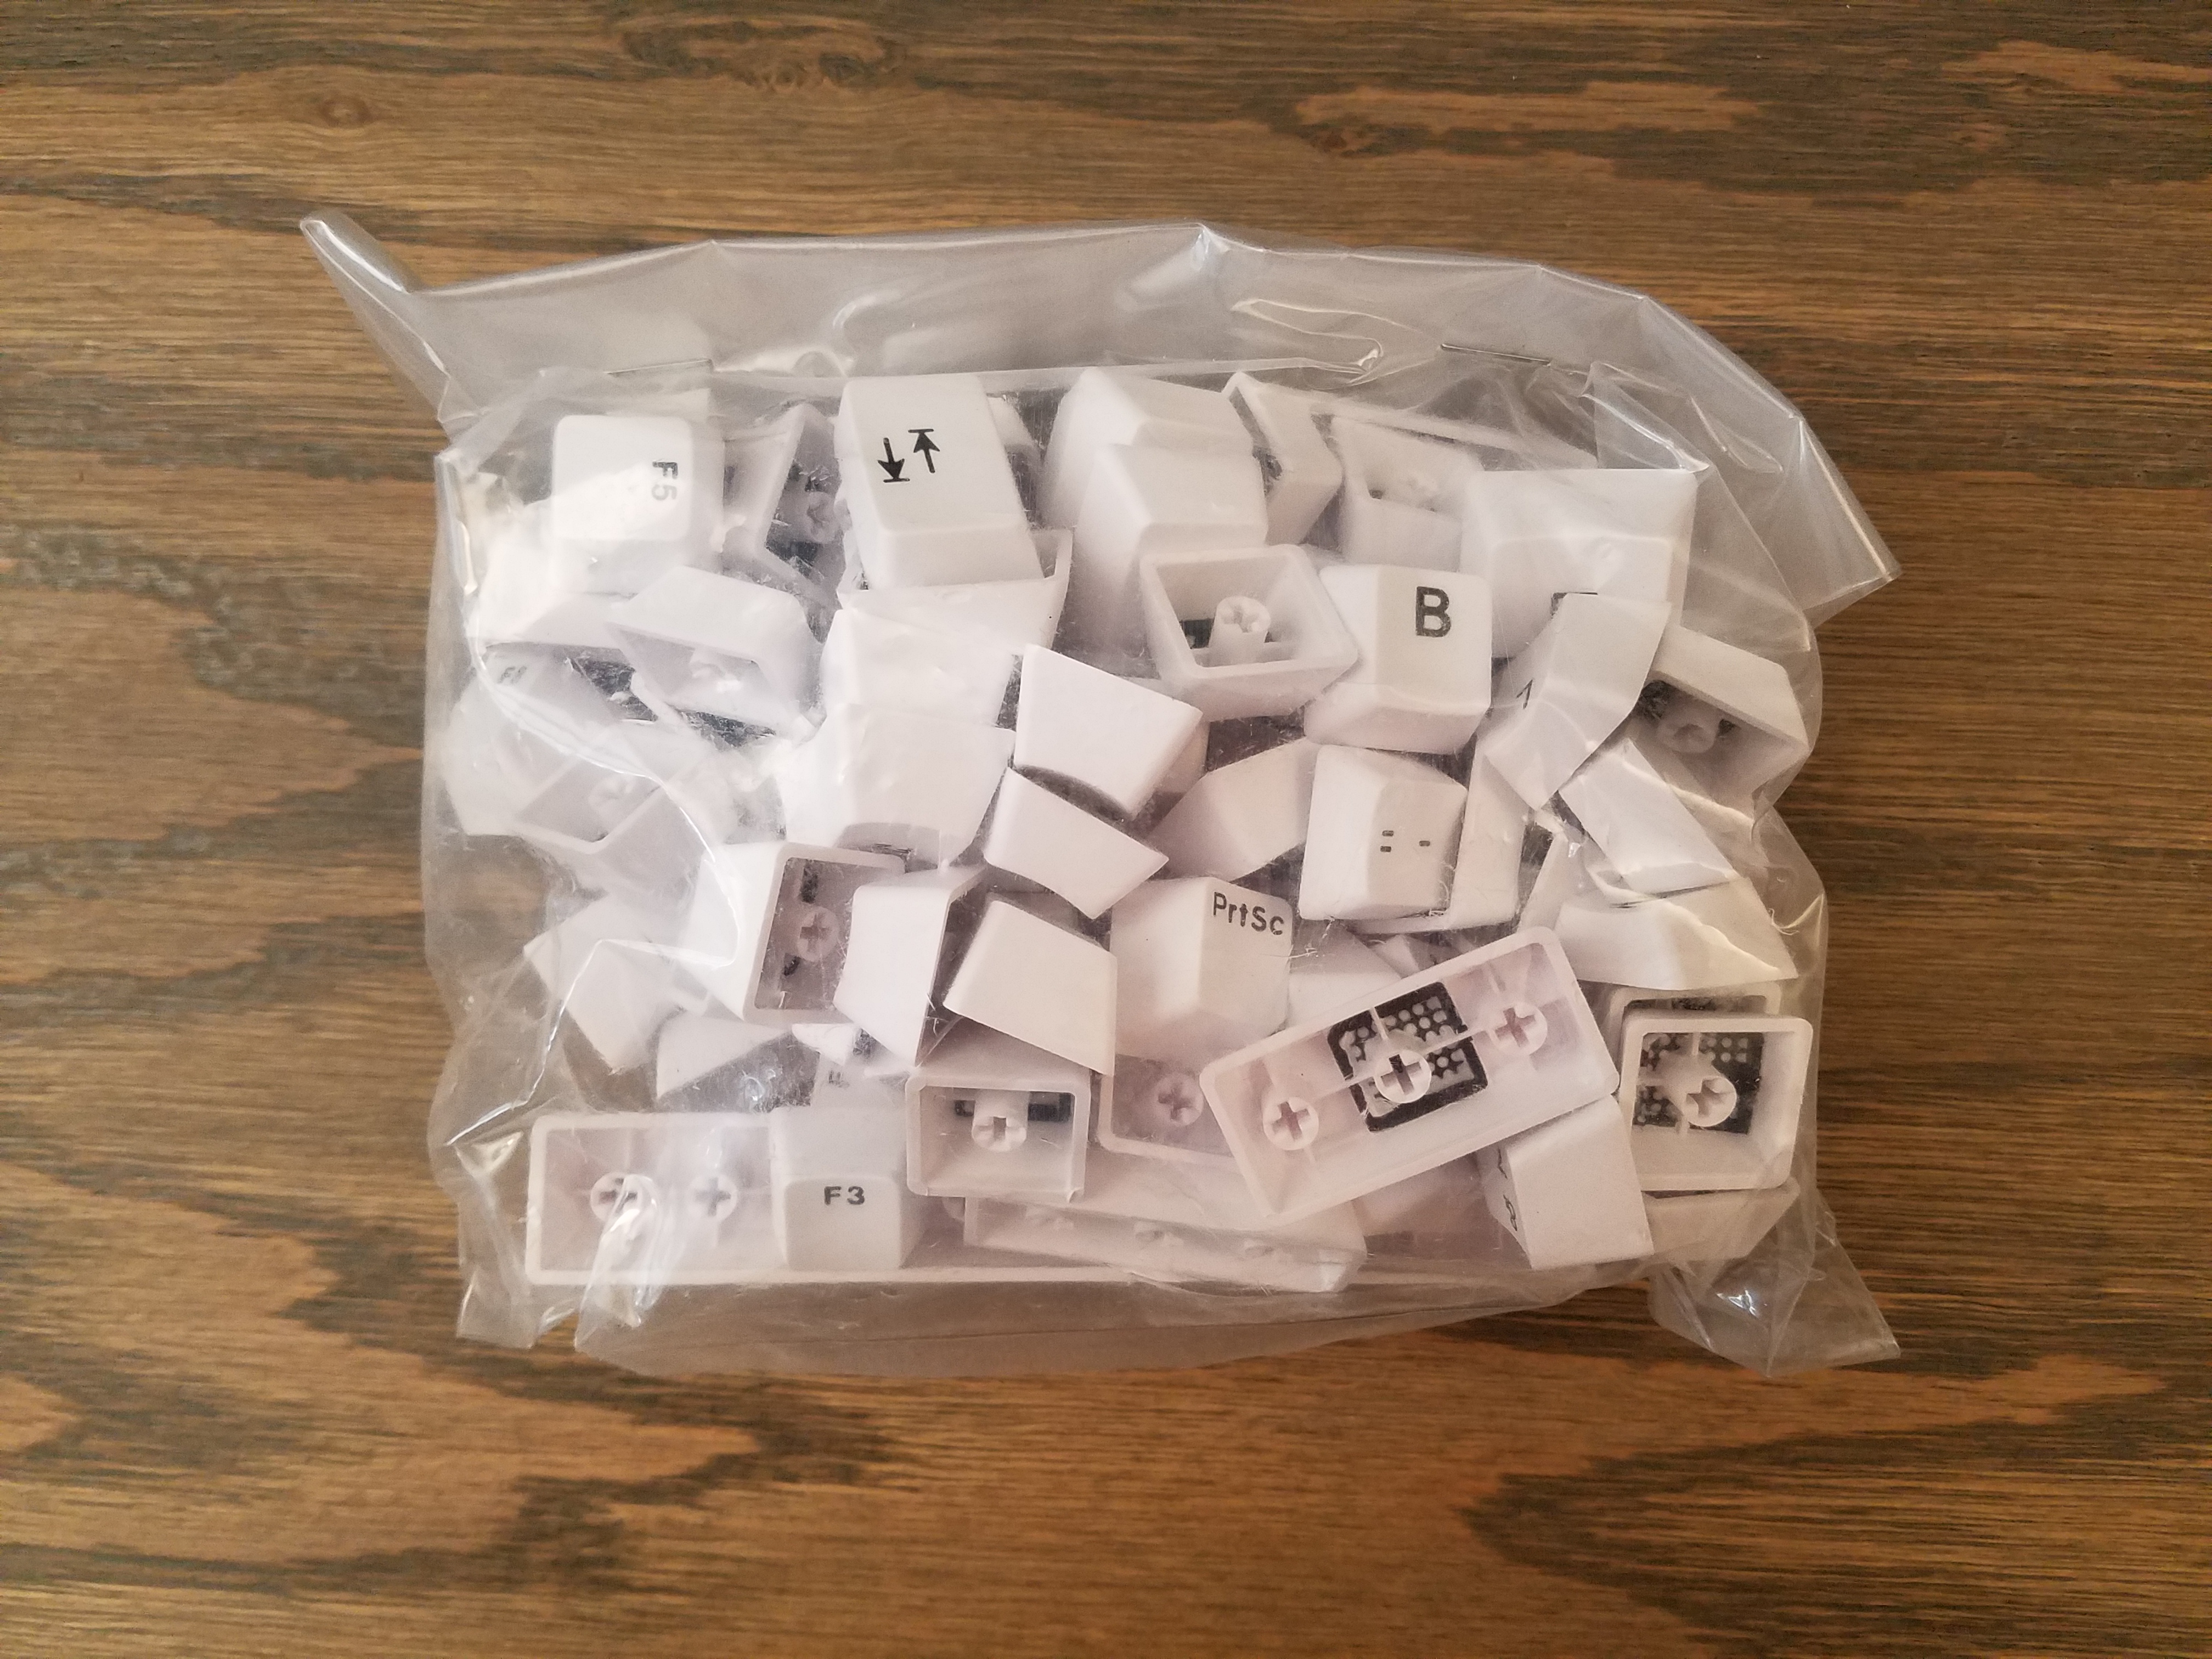
I originally ordered backlit keycaps that came with gray modifiers, but was unhappy with the molding of the sub-legends on the number keys. Since I knew this would bug me, I decided to return them and kept shopping.
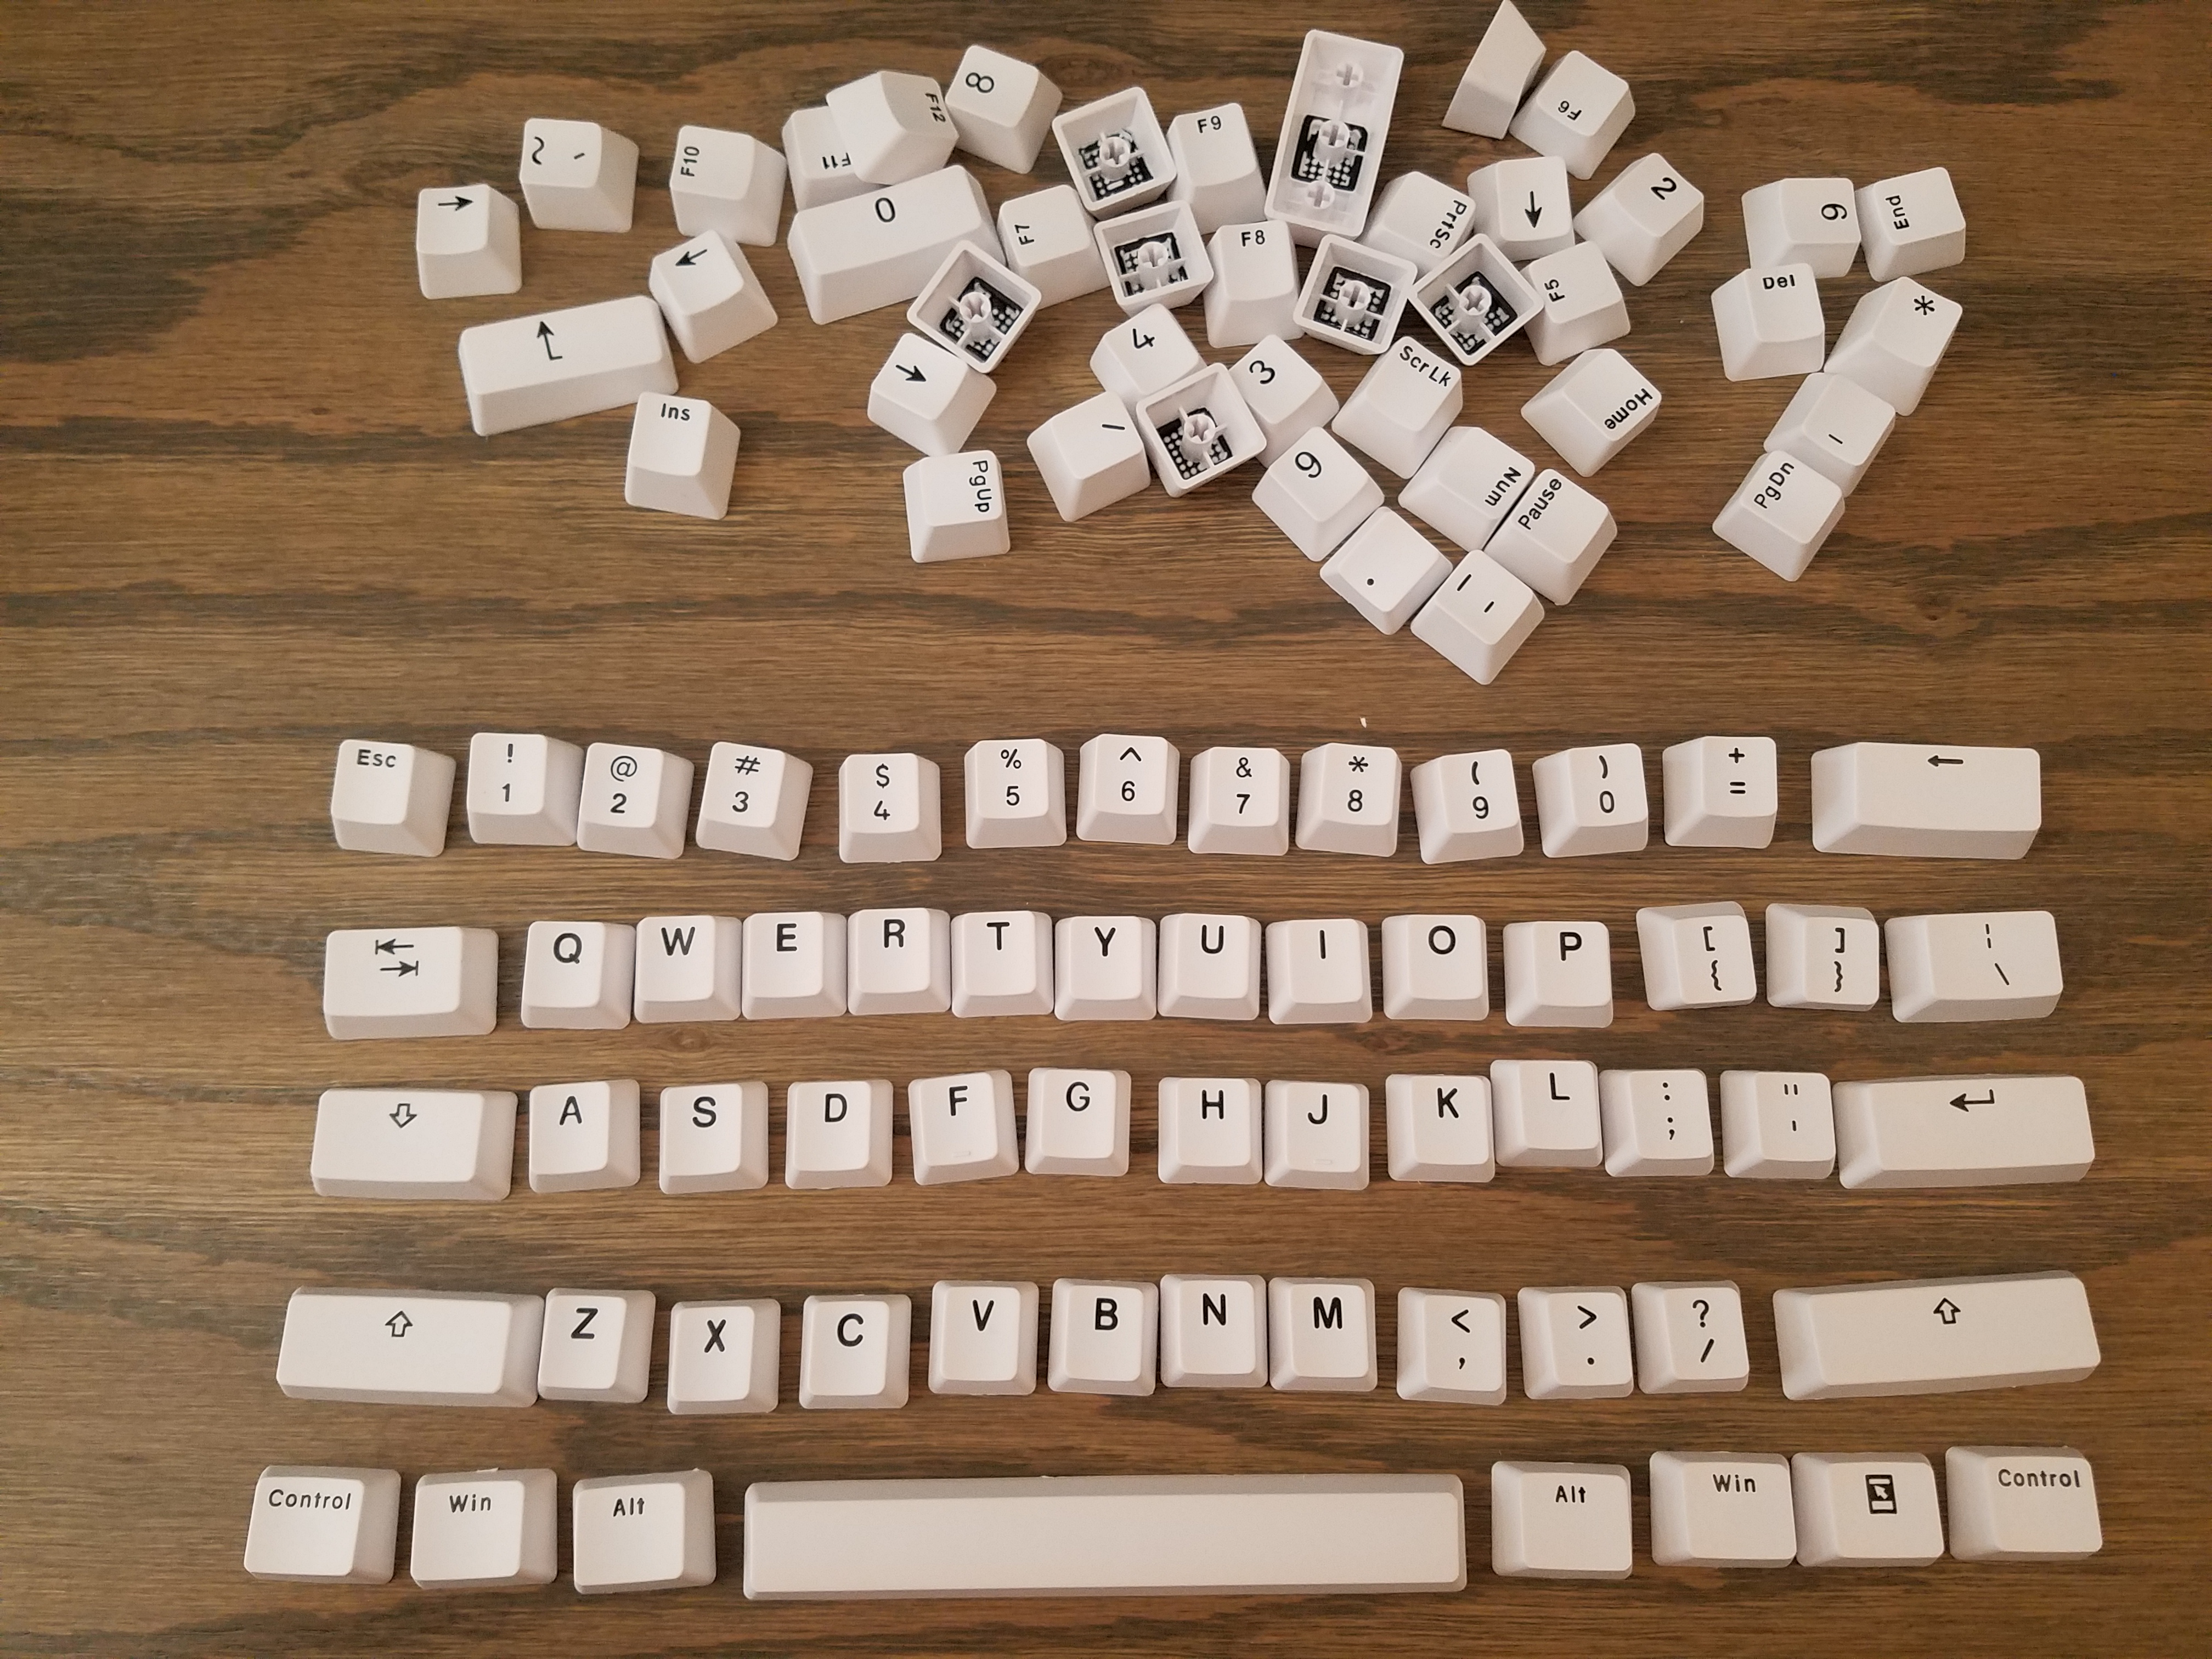
I considered a number of other custom sets, but finally decided on simple white keycaps with black legends. I can always add custom modifiers or swap sets in the future.
Mount the PCB in the Case
More packages in the mail! The case is here.

This case comes with aluminum feet that allow it to be angled. I personally left them off for ergonomic reasons, but if you want to use them they need to be installed prior to mounting the PCB.
To install the rubber pads, peel the paper from the adhesive and line up with the wells in the base.
To prepare the PCB I pulled the keycaps that obscured the mounting holes.
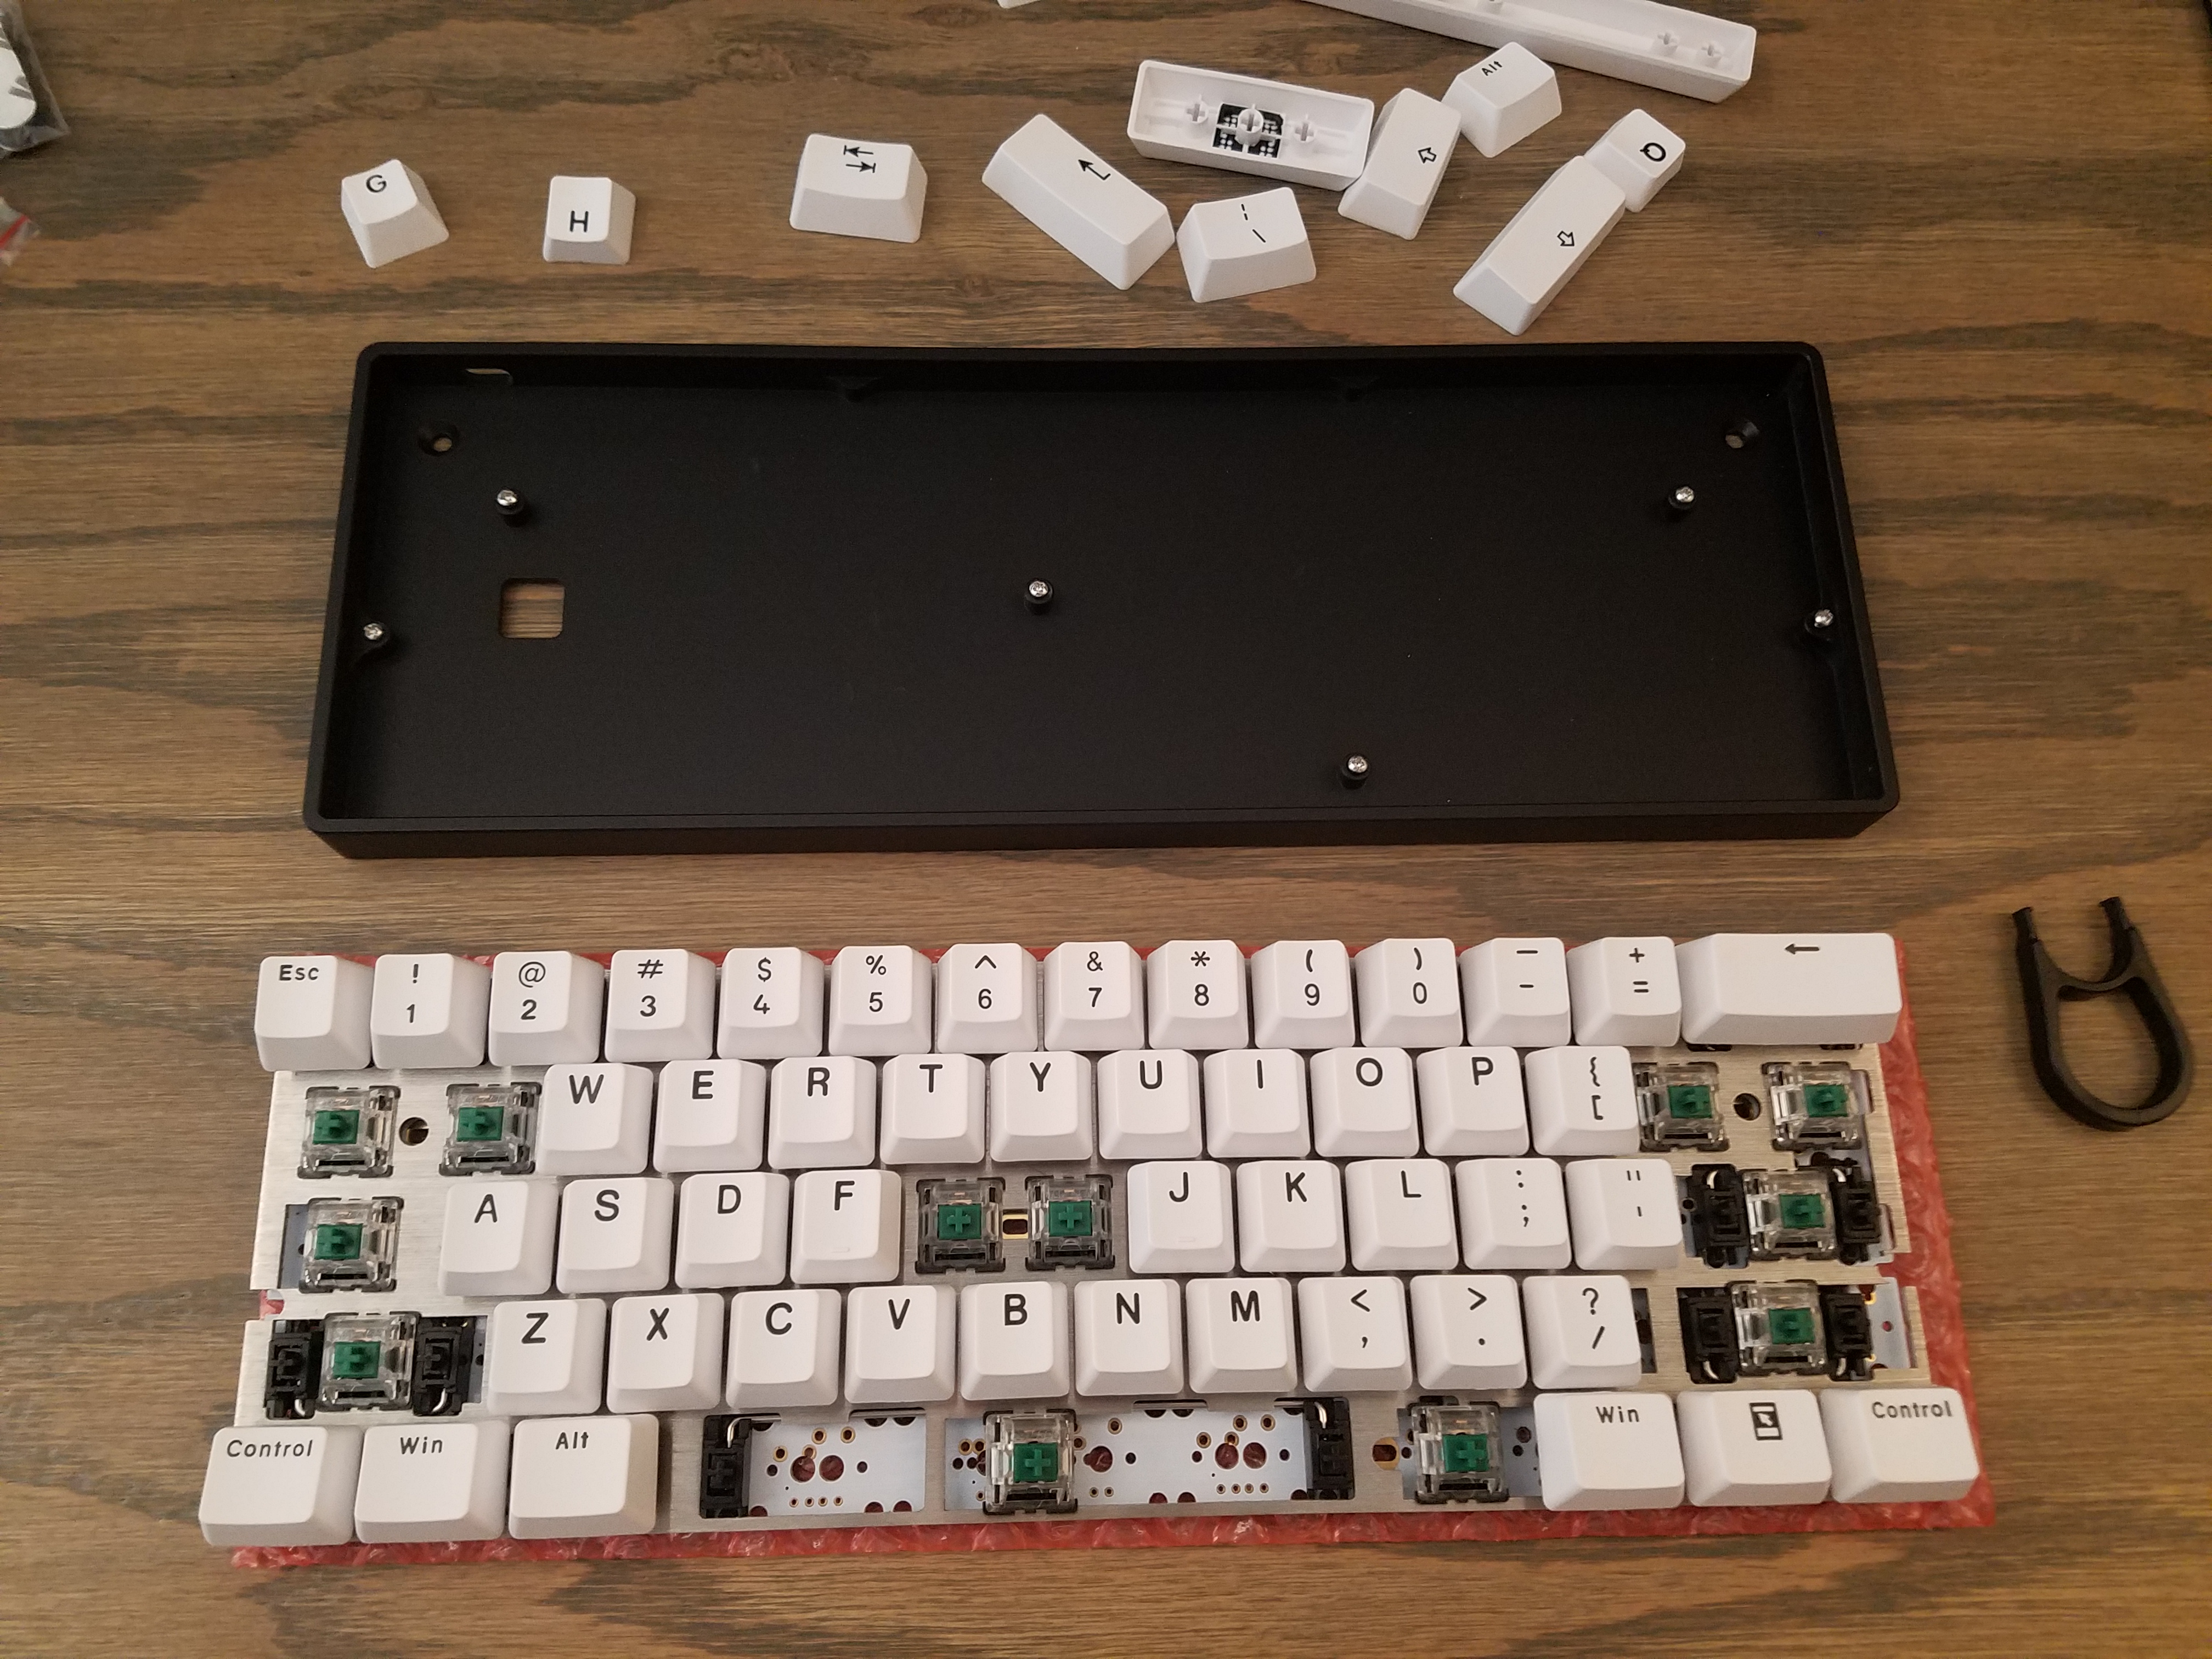
Then I used a pair of tweezers to place the screws and a small (DH1) Philips bit to screw them in. Before tightening the screws, I made small adjustments by nudging the PCB to make sure it was evenly aligned within the case.
Program and Flash the PCB
Being able to fully customize the key mapping is the real reason I wanted to build my own keyboard.
I used qmk_firmware to compile and flash my layout to the PCB. The process is fairly straightforward, but requires being willing to read the documentation, troubleshoot any mistakes, and comfort with the command line. Other methods, such as using qmkeyboard.cn and qmk_toolbox can be used as well.
# Clone the qmk_firmware repository
git clone https://github.com/qmk/qmk_firmware.git

# Run script to install the necessary dependencies
cd qmk_firmware
sudo util/install_dependencies.sh

# Test compiling and flashing the default profile
# The make instruction uses the following pattern: <keyboard>:<keymap>:dfu
sudo make dz60:default:dfu

# "Error: Bootloader not found. Trying again in 5s." displays if the device
# isn't recognized.  Some DZ60 PCBs have a reset pin, however, the USB-C version
# of the PCB doesn't appear to have this feature.

# To force it to register as a DFU device:
# unplug and plug it in while holding the <space> + <b> keys.
After testing the ability to flash the key mapping, I created my own using my preferred Fn-1 layout and moved the RGB backlighting and LED settings to the Fn-2 layer.
My custom key map can be found on GitHub.
# Copy the key map into qmk_firmware
mkdir ../qmk_firmware/keyboards/dz60/keymaps/custom_keymap
cp keymap.c ../qmk_firmware/keyboards/dz60/keymaps/custom_keymap

# Navigate to the qmk_firmware directory
cd ../qmk_firmware

# Compile and flash the key mapping
sudo make dz60:custom_keymap:dfu
Scrub-a-dub
Since I was in the midst of playing with my keyboards, it was an opportune time to pull the keycaps from my KUL-ES 87 and Vortex Pok3r and give them a good cleaning.
The cleaning process is pretty simple.
Cleaning the keycaps:
-
Pull keycaps and place in a large bowl
-
Add 1tbsp of dishwasher powder
-
Fill the bowl with warm water until the keycaps are covered
-
Allow keycaps to soak. Some say 10+ minutes is enough, I let them sit for a few hours
-
Use a colander to strain the soapy water
-
Alternate rinsing and straining clean water until the caps are no longer soapy
Cleaning the boards:
-
Use compressed air to remove dust and dog hair
-
Clean between the switches using q-tips and rubbing alcohol
Here’s the keyboards with their caps off.